How to prepare an artboard
Design Guidelines

![]() 1. Bleed - Artwork in this area will be cut off. Please make sure that your artwork is filled up the bleed area to avoid any white edges during cutting process. The bleed area should have ≥ 2mm extends on each side from the trim mark
1. Bleed - Artwork in this area will be cut off. Please make sure that your artwork is filled up the bleed area to avoid any white edges during cutting process. The bleed area should have ≥ 2mm extends on each side from the trim mark
![]() 2. Trim - This is where we aim to cut. There may be dislocation from the specified point during the cutting-diecutting process. Therefore, submitted artwork should be placed to fill the entire bleed area.
2. Trim - This is where we aim to cut. There may be dislocation from the specified point during the cutting-diecutting process. Therefore, submitted artwork should be placed to fill the entire bleed area.
![]() 3. Safe area - Any texts, logos or other important parts of your design that cannot be cut should be placed within this area to avoid such incident. The safe area should shrink ≥ 2mm on each side from the trim mark.
3. Safe area - Any texts, logos or other important parts of your design that cannot be cut should be placed within this area to avoid such incident. The safe area should shrink ≥ 2mm on each side from the trim mark.
Best way to place your artwork

Adobe Illustrator 
Artboard Setup
1. Launch Adobe Illustrator...
Choose Menu File > New...(Window : Ctrl + N / MacOS : Cmd + N)

2. Input your artwork size
Set Bleed to 2 mm
Color mode : CMYK Color
Raster Effects : High (300 ppi)
Click Create.

How to setup safe area
1. Create a rectangle with actual size of your artwork -4 for both width and height
e.g. Your artwork size is 54 x 85 mm, then your rectangle should be 50 x 81 mm
2. Select the rectangle you just create > Go to Window > Align
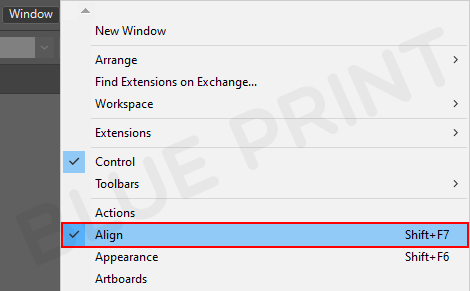
3. Set Align To: Align to Artboard
4. Align Objects: Choose Horizontal Align Center and Vertical Align Center

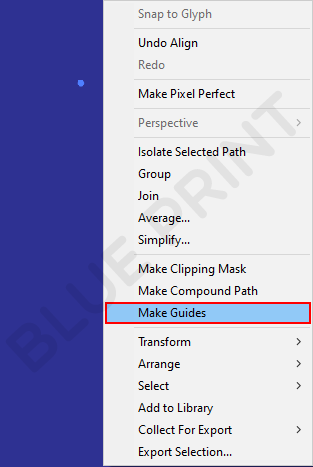
5. Select the rectangle again > right click > Make Guides
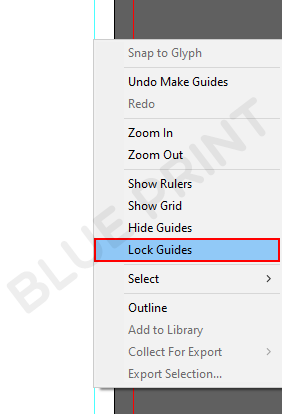
6. Right click at the Guide lines > Lock Guides
* if your Guide lines are already locked, you can skip this step*
7. Your safe area is within these.

็How to change Text to Vector
For better display result, you should create outlines for your texts to avoid missing fonts.
1. Select your text > Right click > Create Outlines

Text will be converted to Vector

็How to embed photos/linked files
To avoid missing photos and linked files, you should embed them before sending your design to us.
This step is done when saving file for the first time.
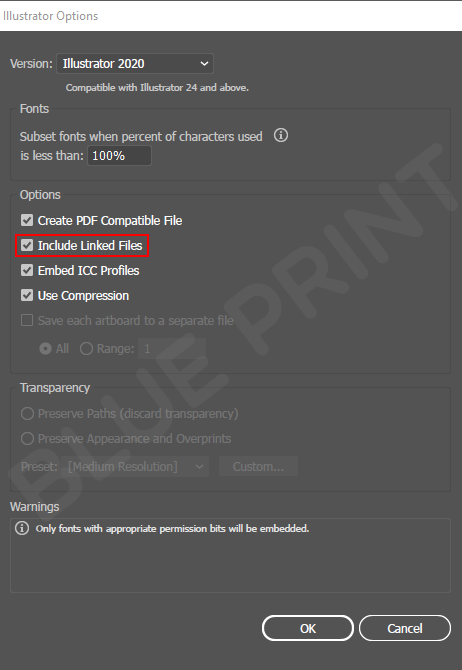
Go to File > Save or Save As > Tick Include Linked Files > OK
Adobe Photoshop 
Artboard Setup
1. Open Adobe Photoshop...
Choose Menu File > New... (Window : Ctrl + N / MacOS : Cmd + N)

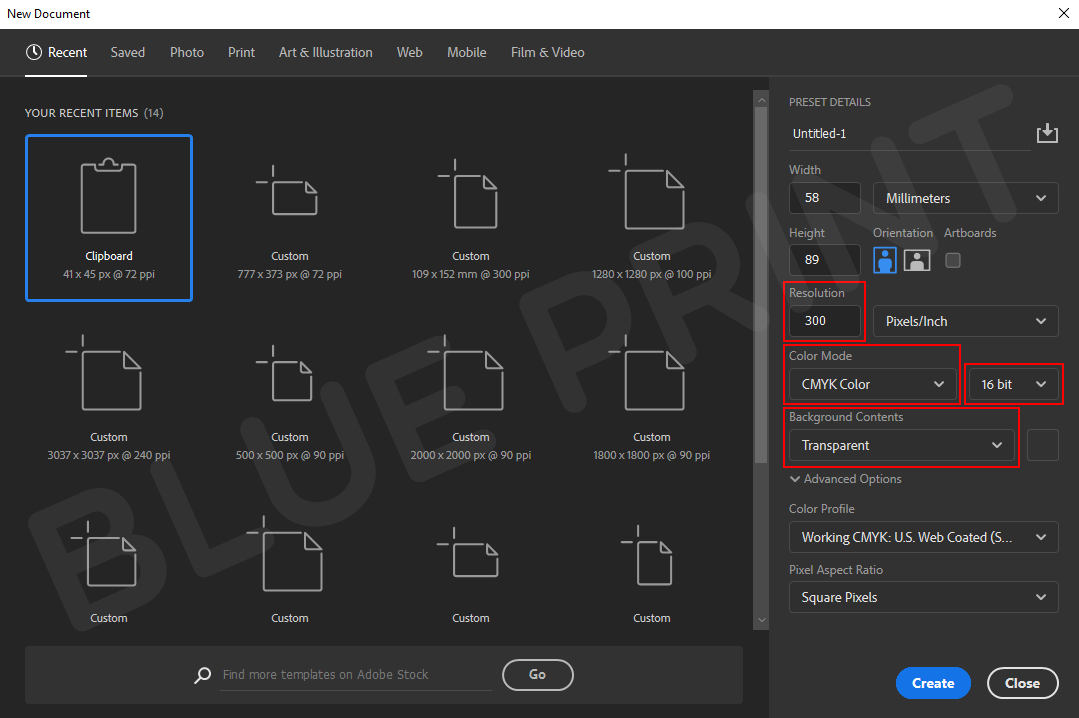
2. Set your artboard with actual size +4mm
Eg. your artwork size is 54 x 85 mm, set artboard size to 58 x 89 mm
Set Resolution : 300dpi
Color Mode : CMYK Color 16 bit
Background Contents : Transparent
Click Create
How to create bleeds and safe area
Set Bleeds
1. Choose menu View > New Guide Layout
- Tick Columns, Rows, set to 1
- Margin: Top, Left, Bottom, Right, set all to 2 mm
- Click OK


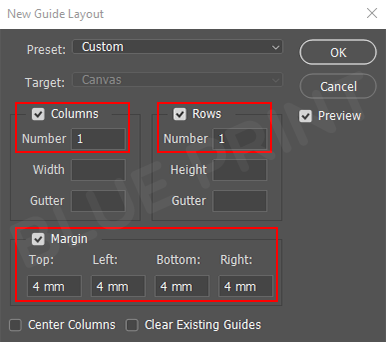
Set Safe Area
1. Choose menu View > New Guide Layout
- Tick Columns, Rows, set to 1
- Margin: Top, Left, Bottom, Right, set all to 4 mm
- Click OK

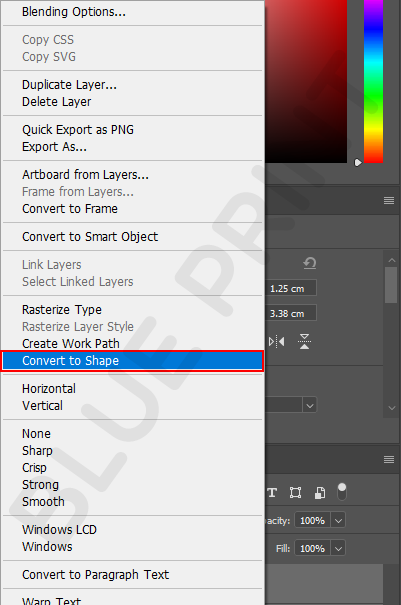
How to change Text to Graphic
1. Select a text > Right click > Layer > Select Convert to Shape
Notice that Text is now become Graphic

How to Save file
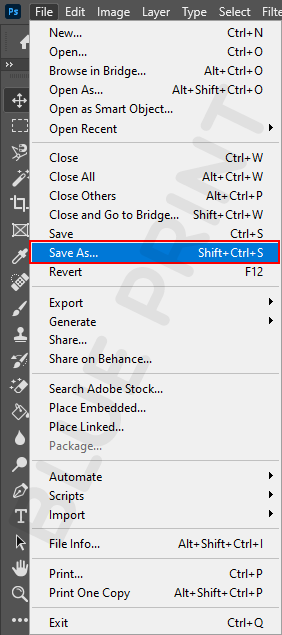
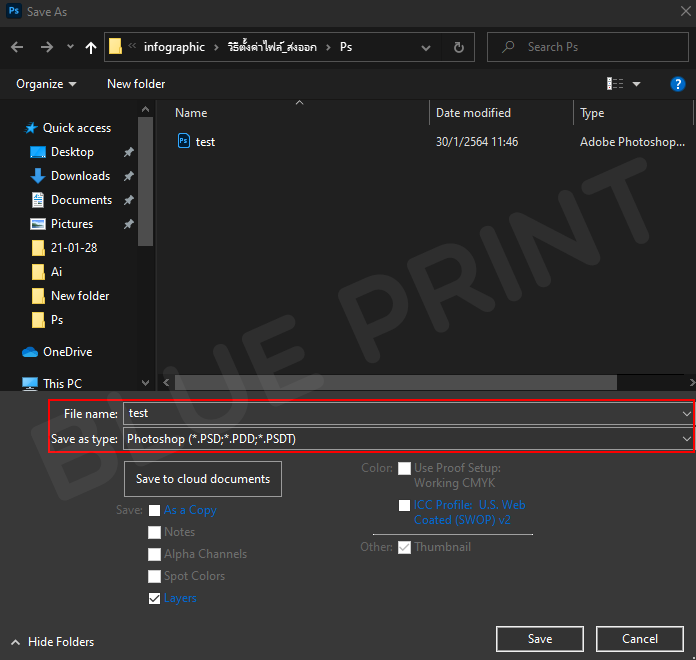
1. Select menu File > Save As...
Choose extension .PSD
ibis Paint 
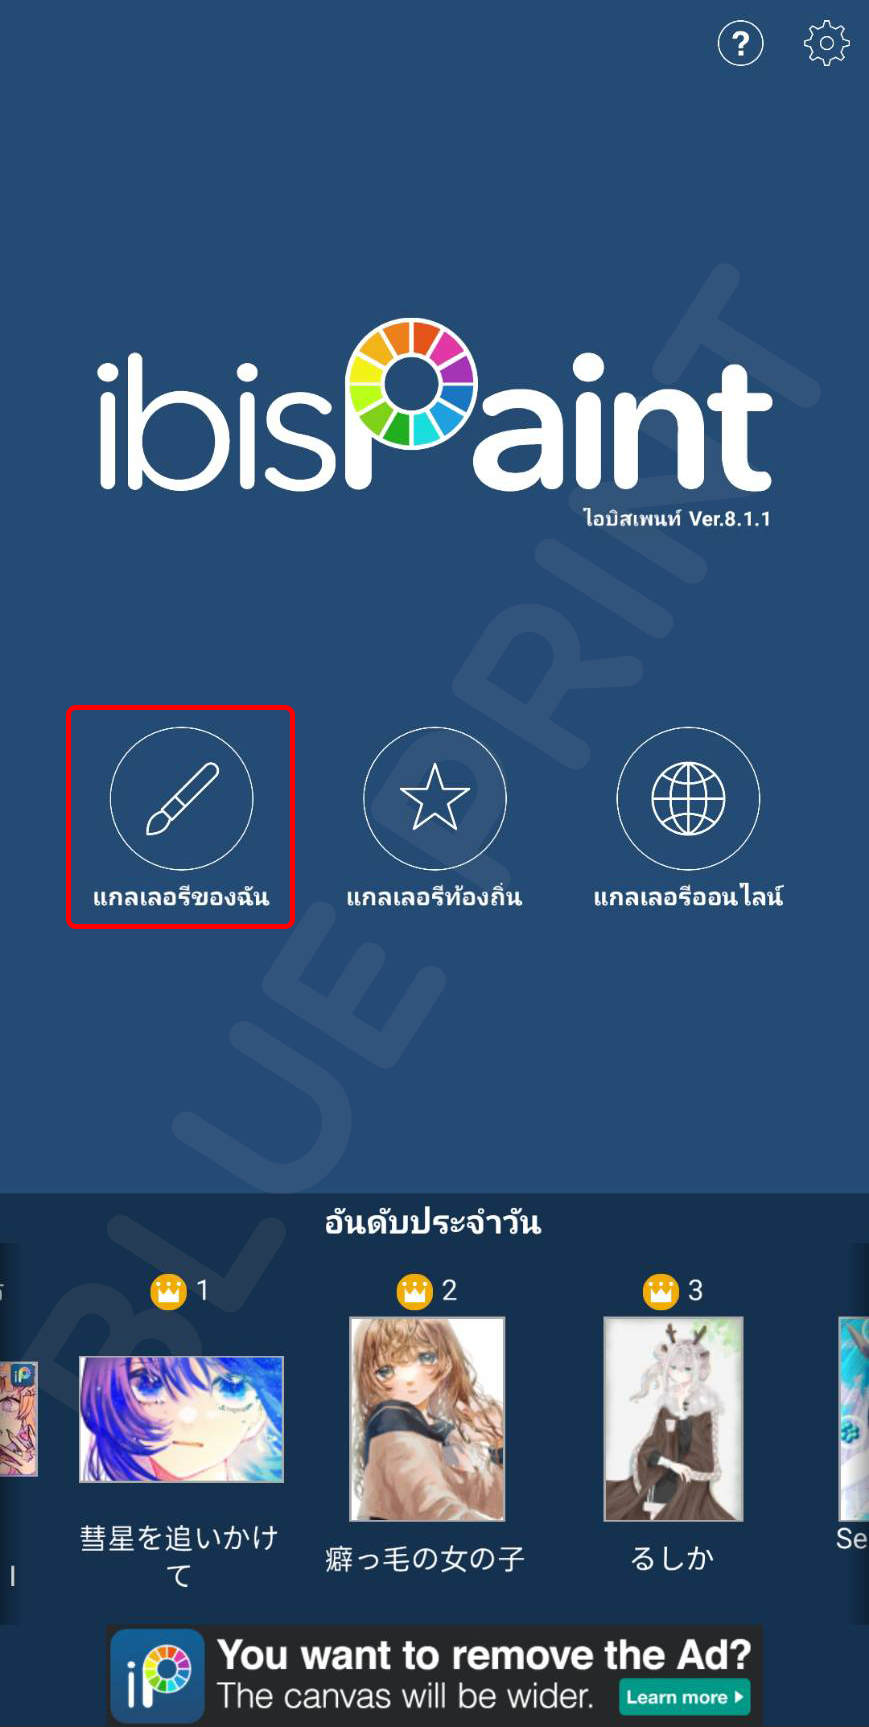
1. Open app iBis Paint X, Tap “My gallery” to begin your design.
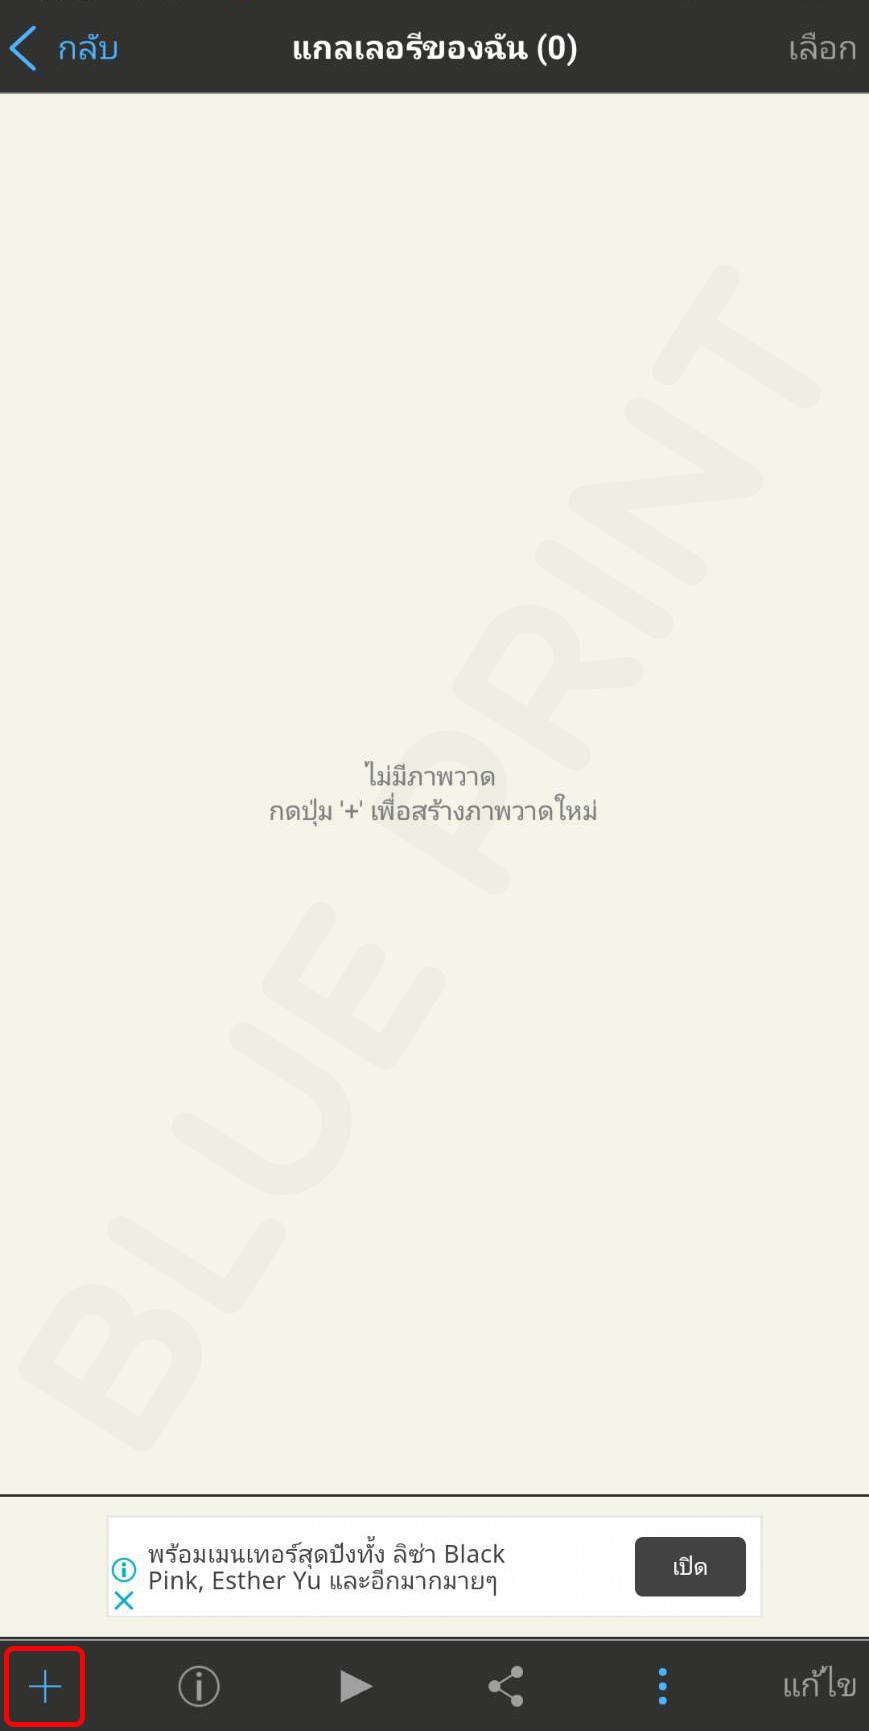
2. Tap + at bottom left corner
3. Set the artboard to actual size (px) then OK
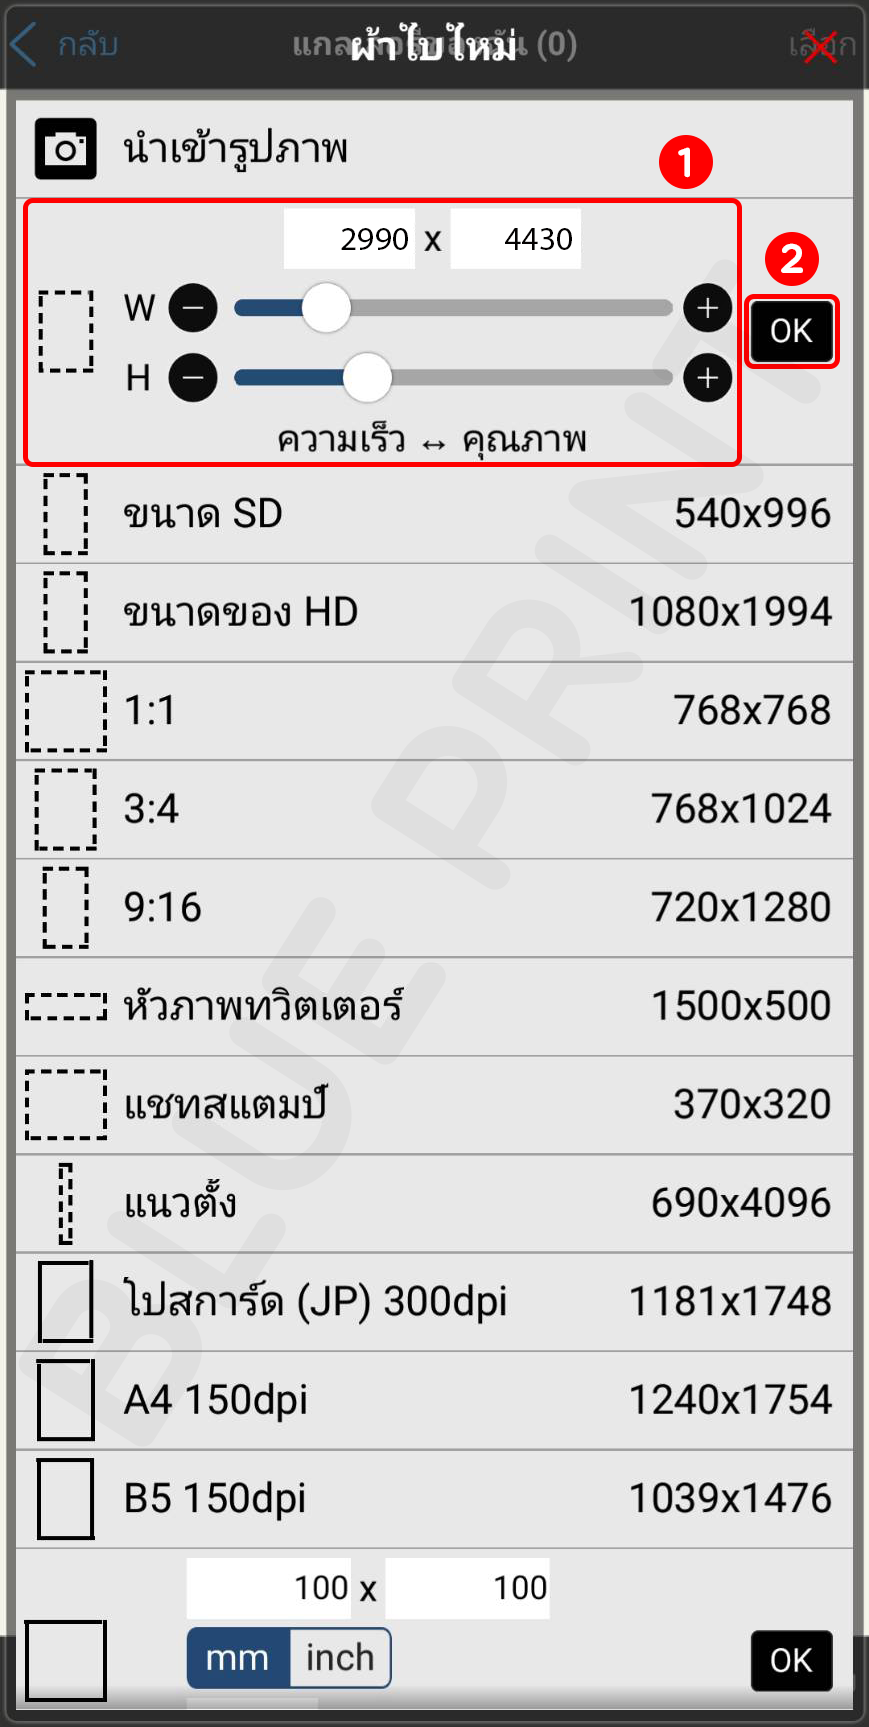
4. You can now begin design.
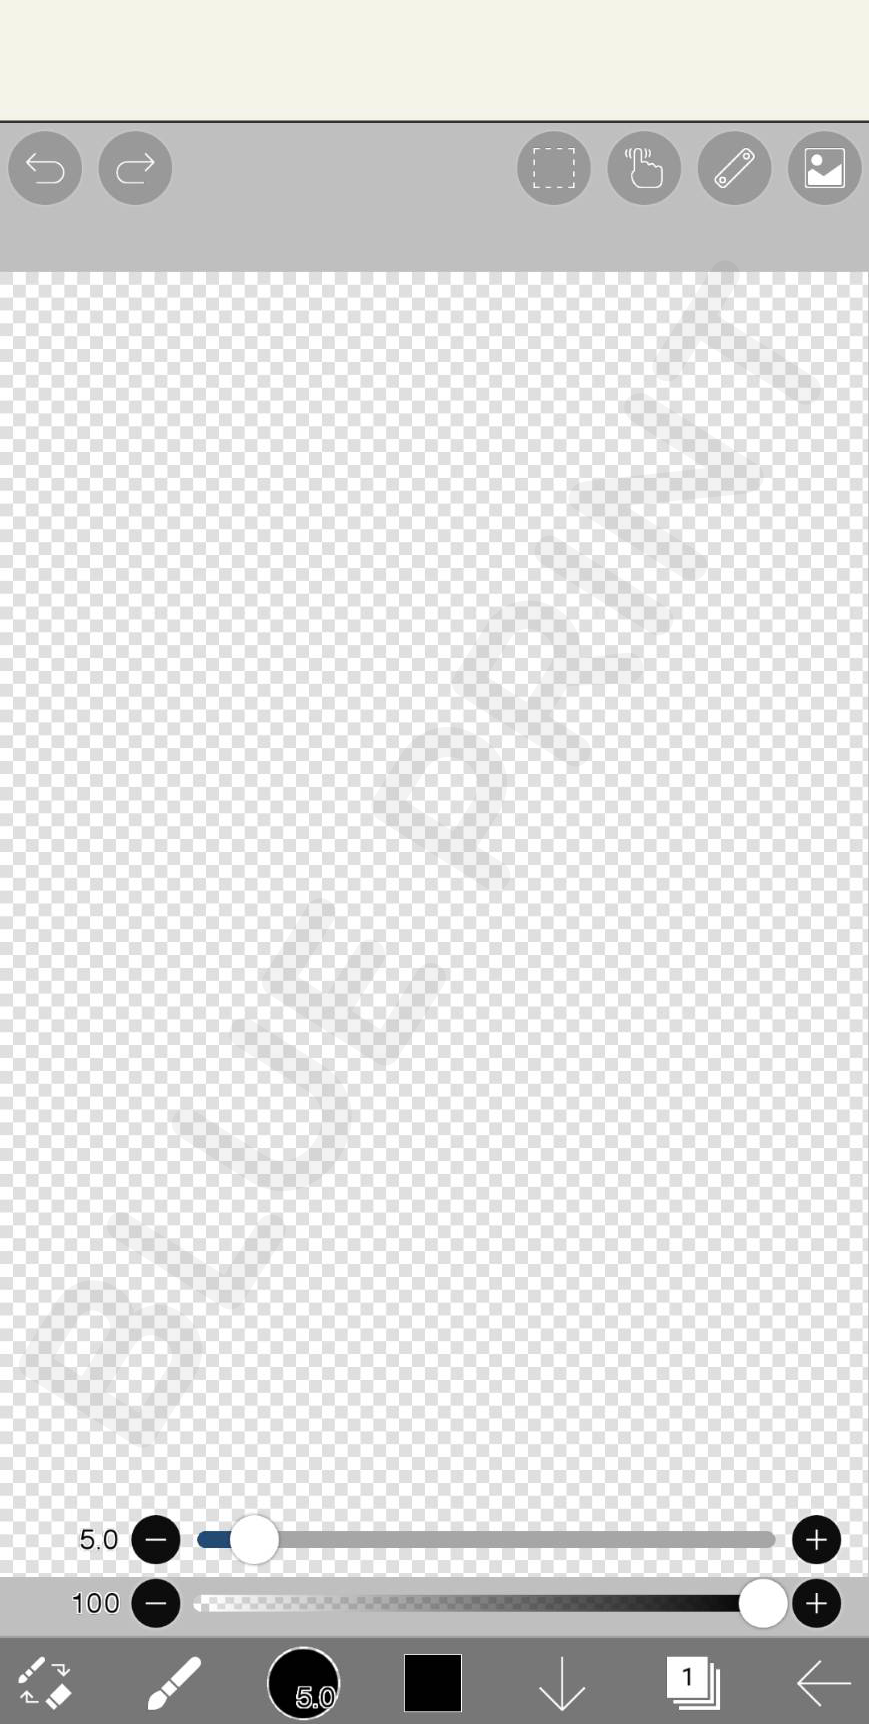
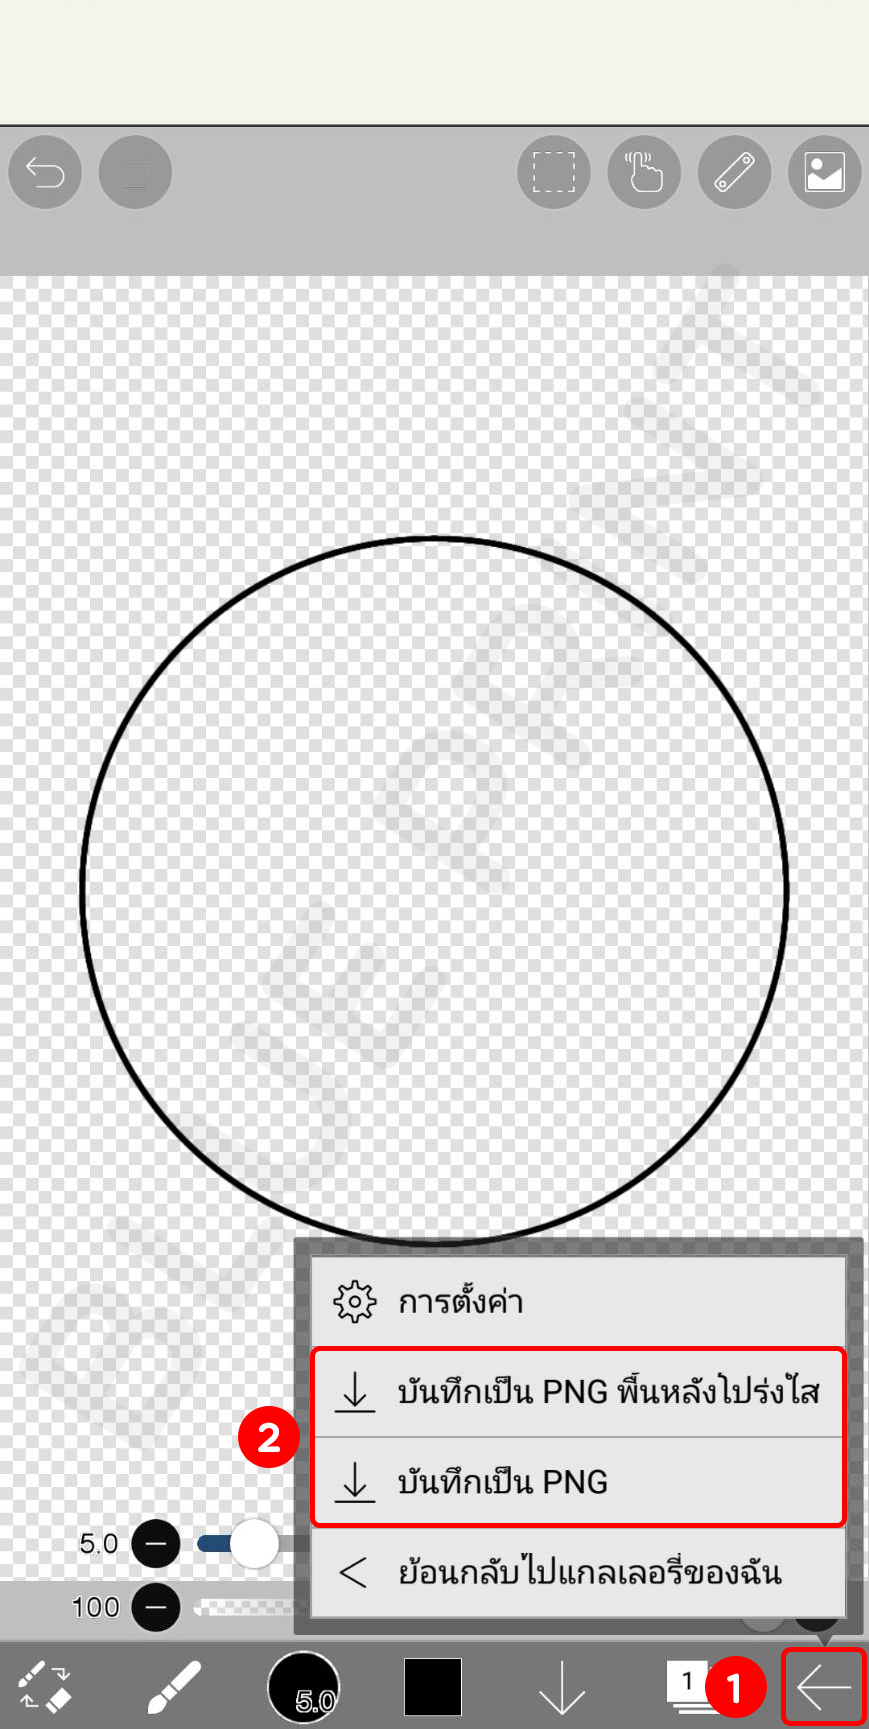
5. When you have done with your design, save your artwork.
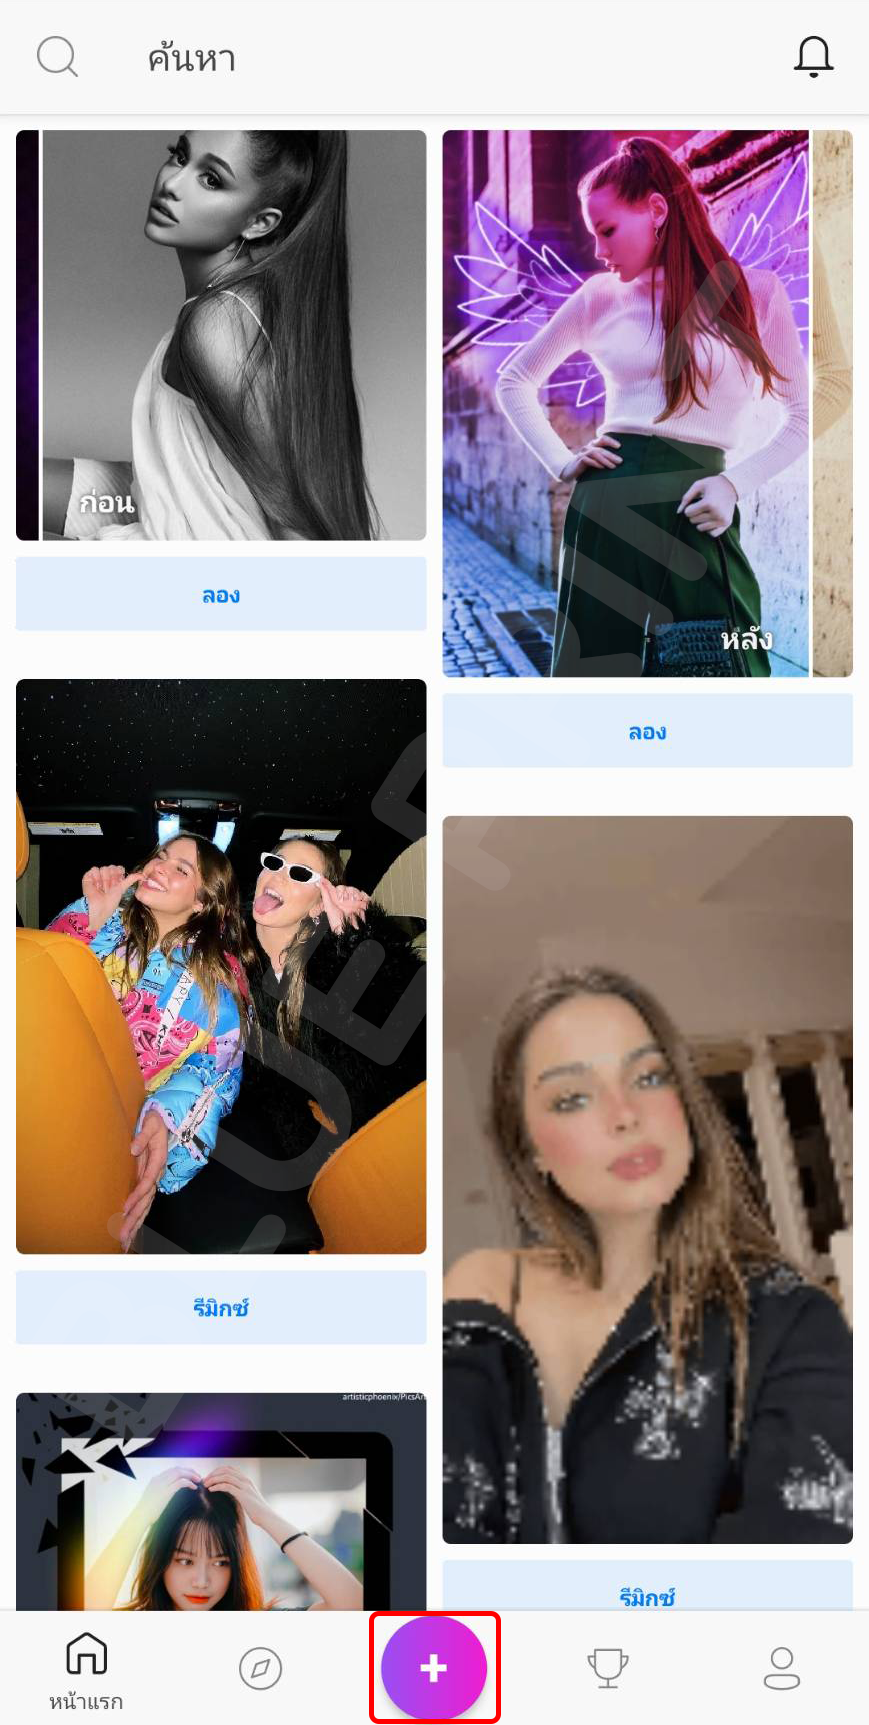
Picsart 
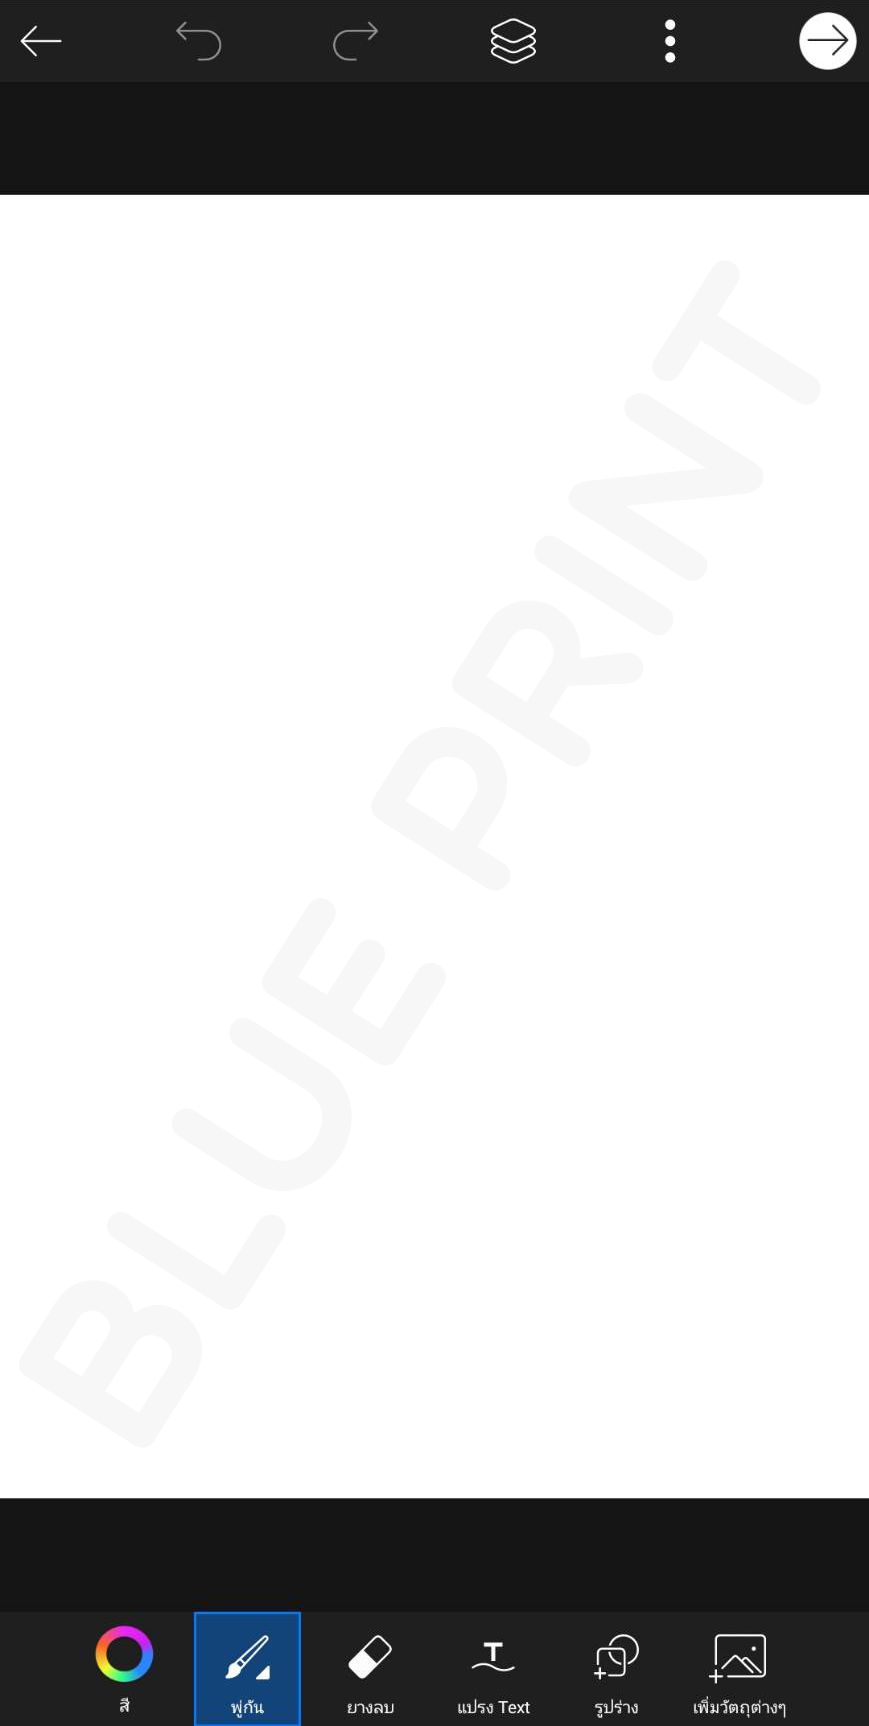
1. Open app Picsart, tap + at the bottom to begin your design.
2. Tap "Pick canvas"
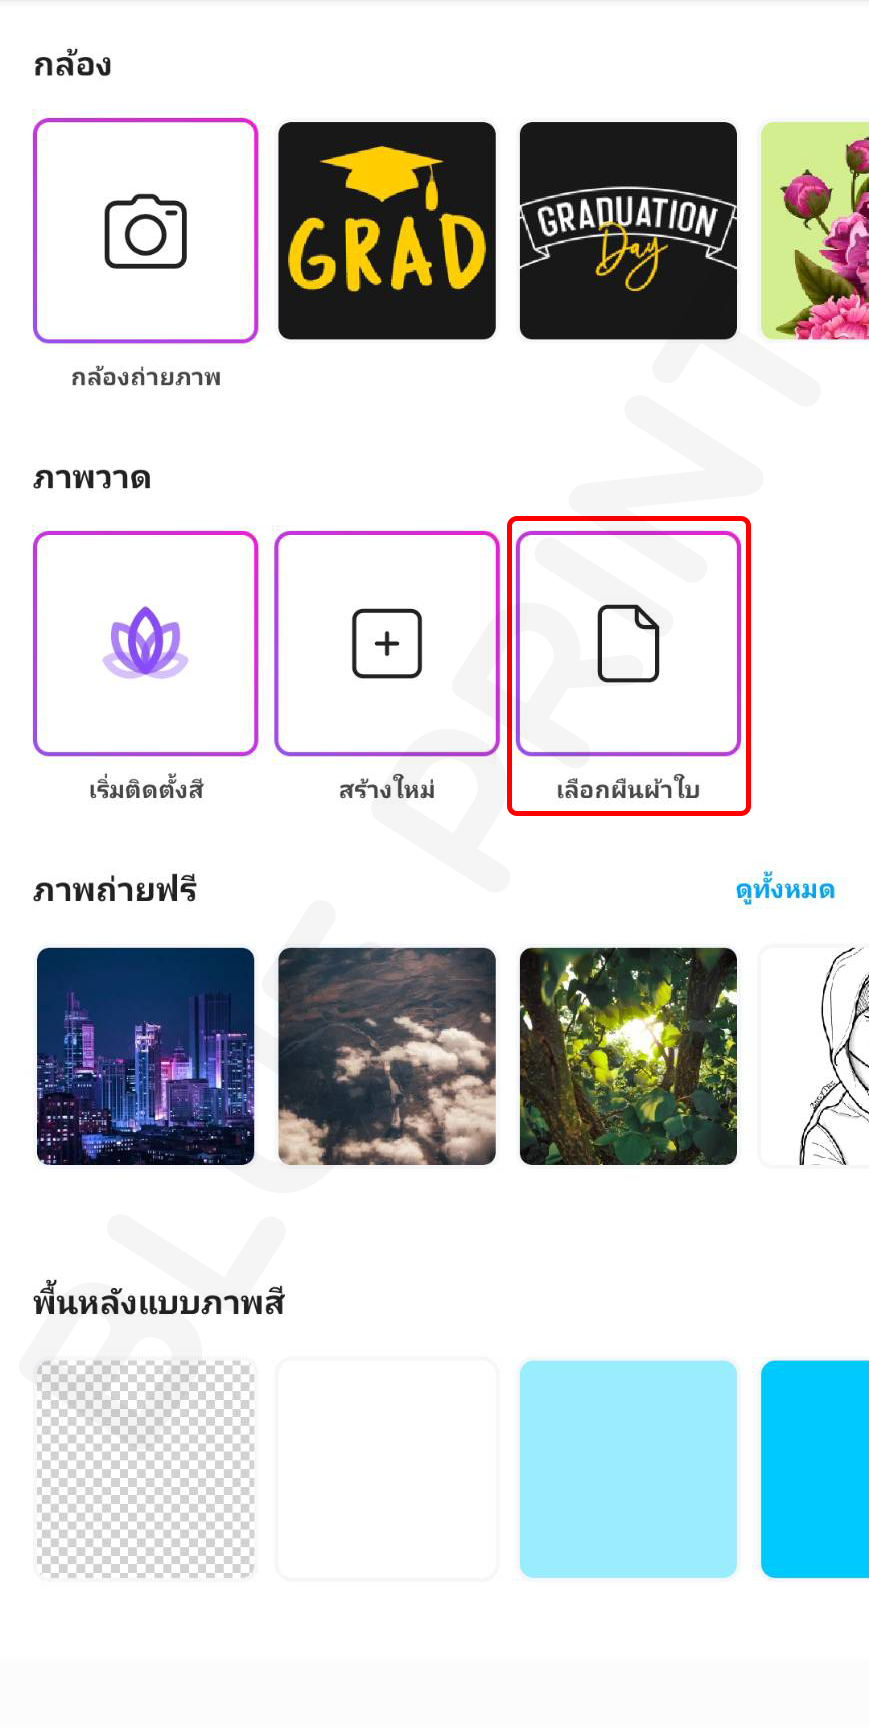
3. Tap "Custom" to custom your artboard size.
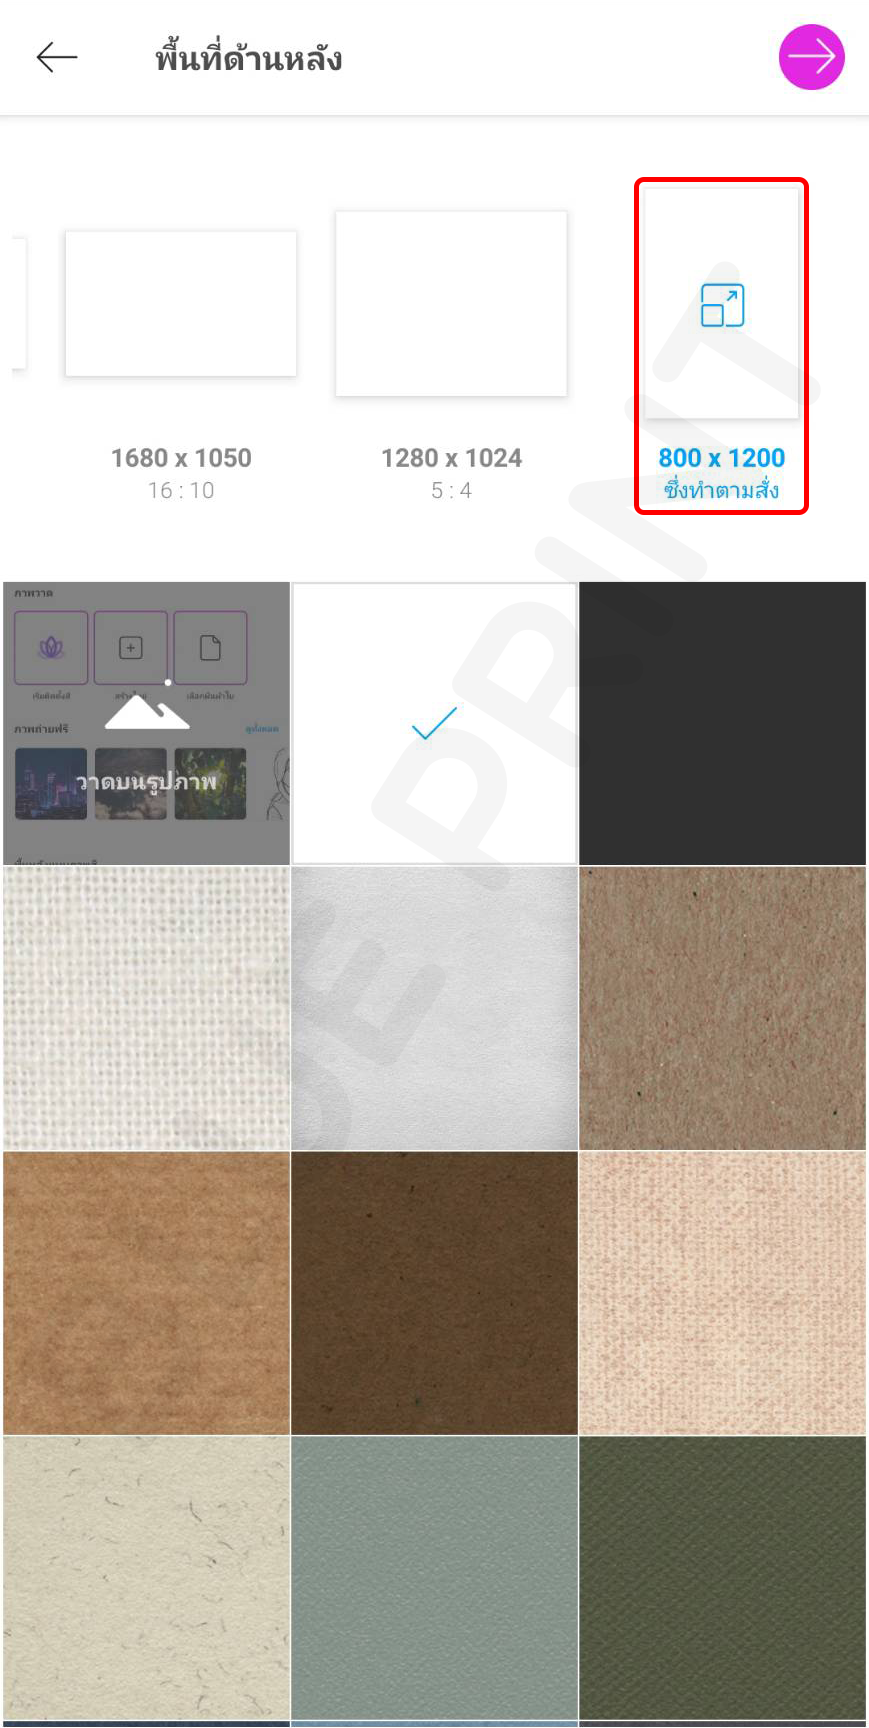
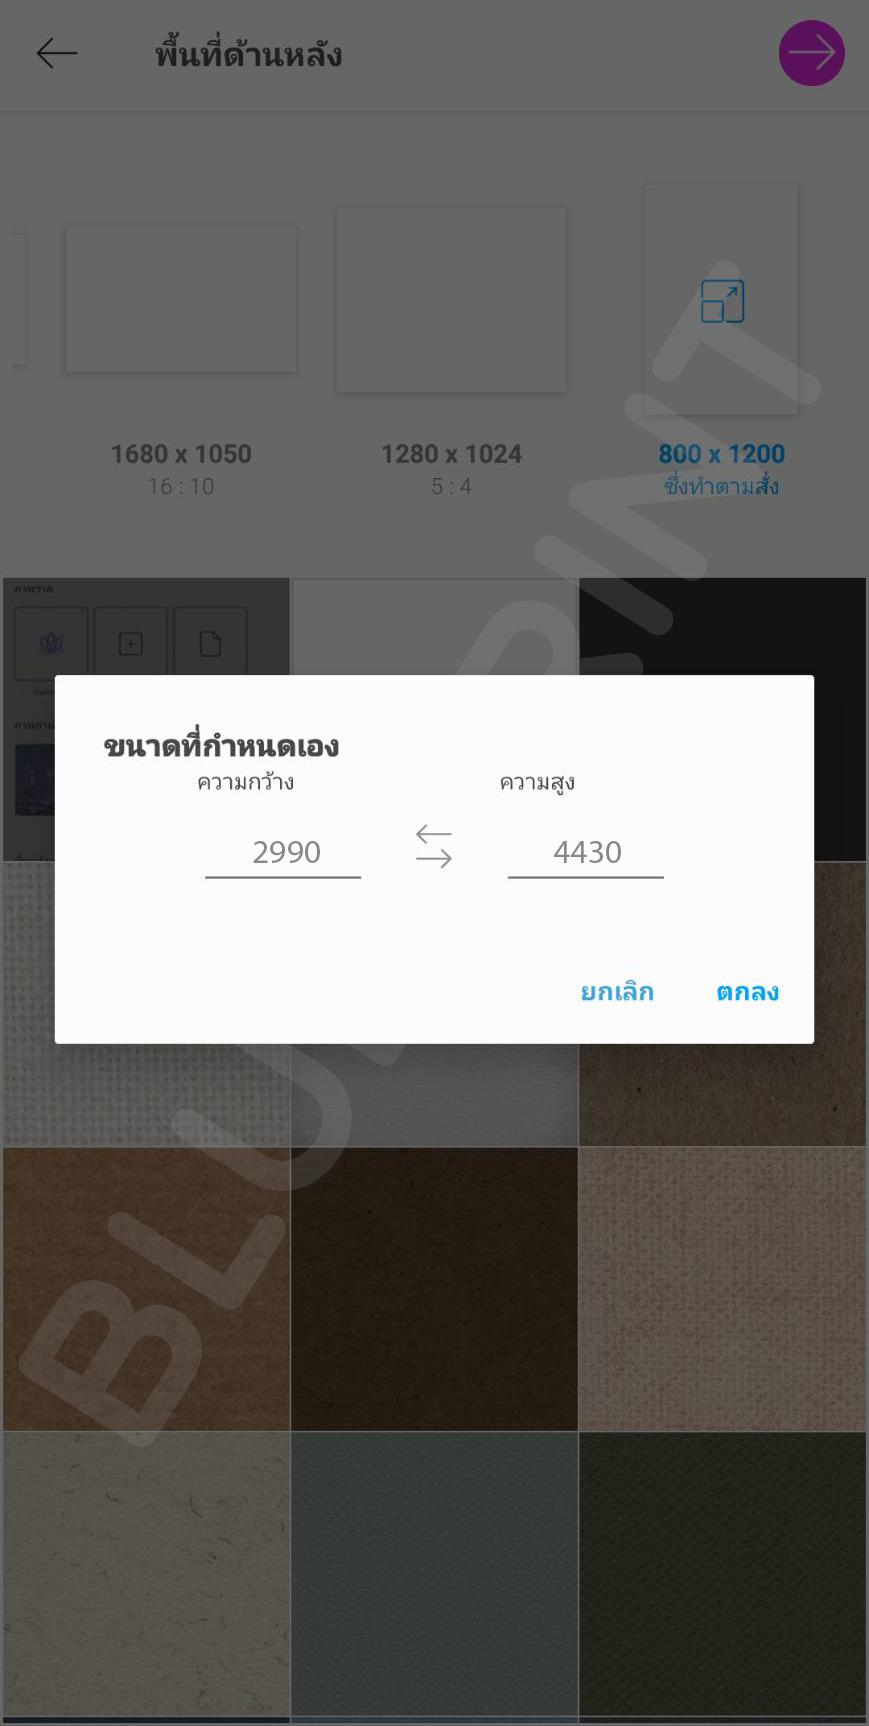
4. Adjust size to actual artwork size, tap "Done".
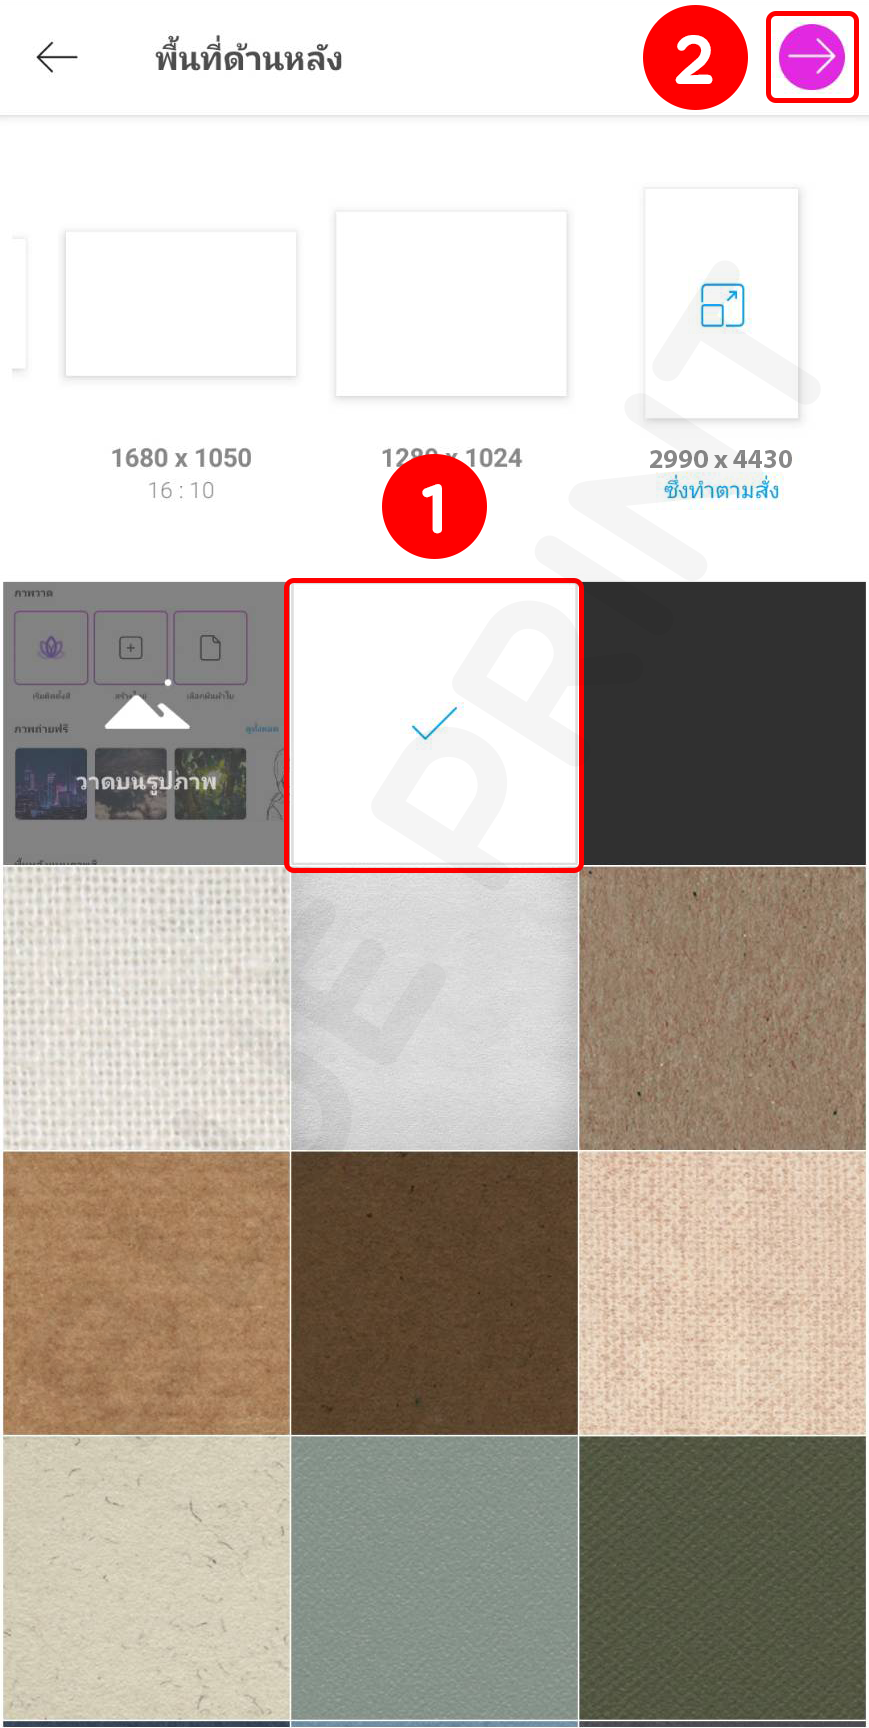
5. Choose a background then tap the arrow at the top right corner.
6. You can now begin your design.
7. When your design is finished, tap the arrow at top right corner.
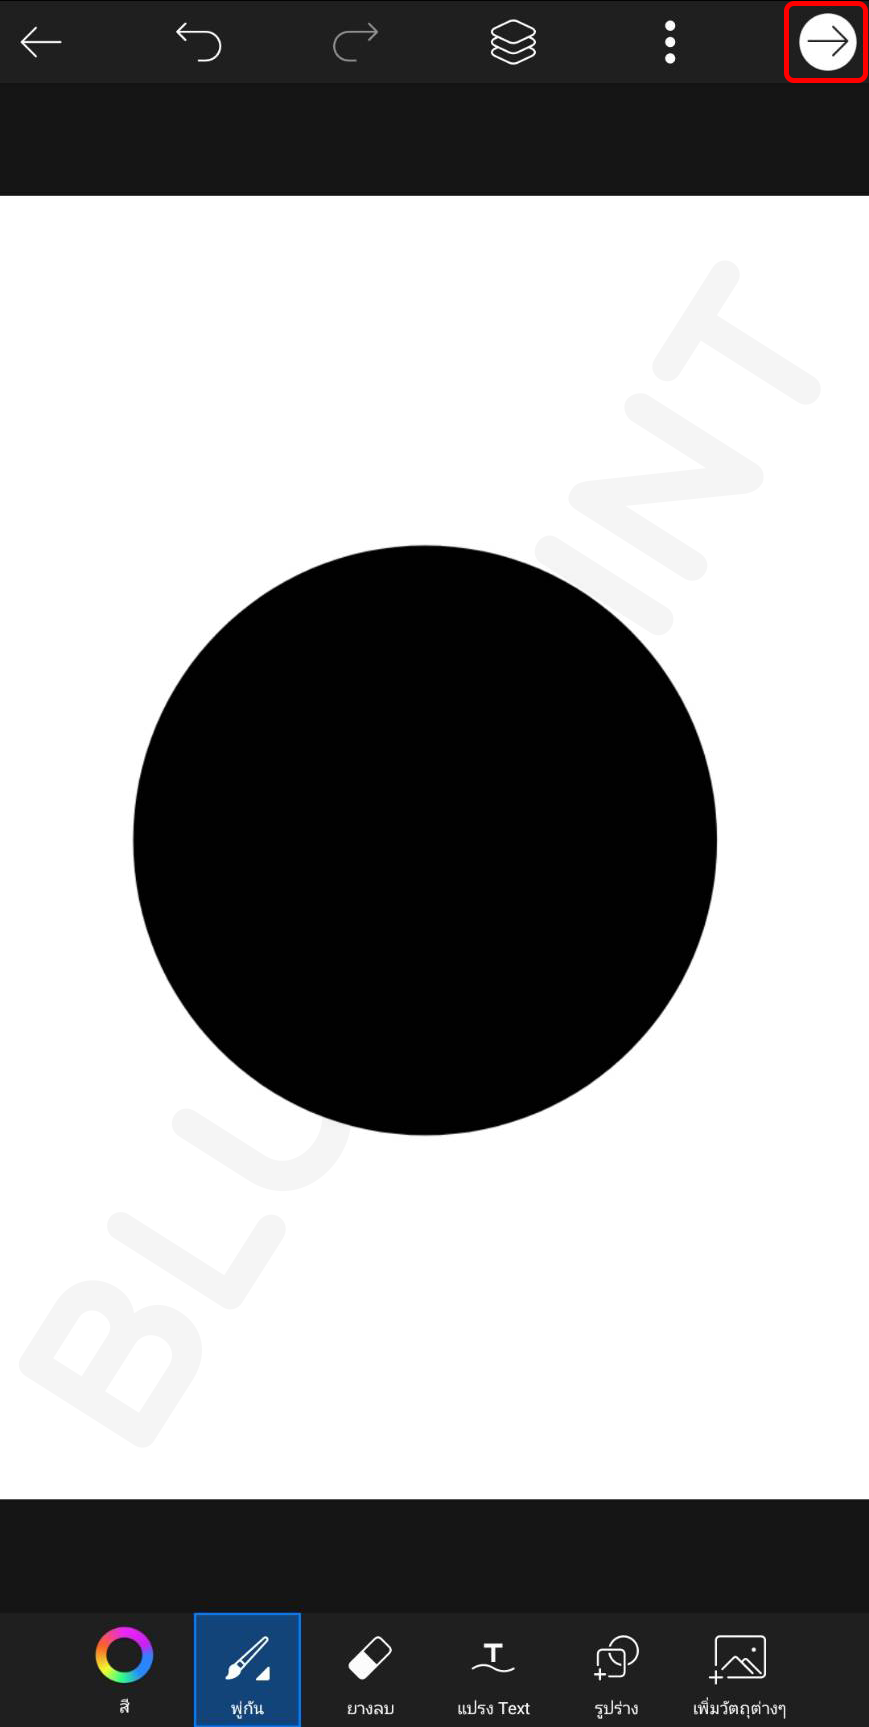
8. Tap "Save and Share"

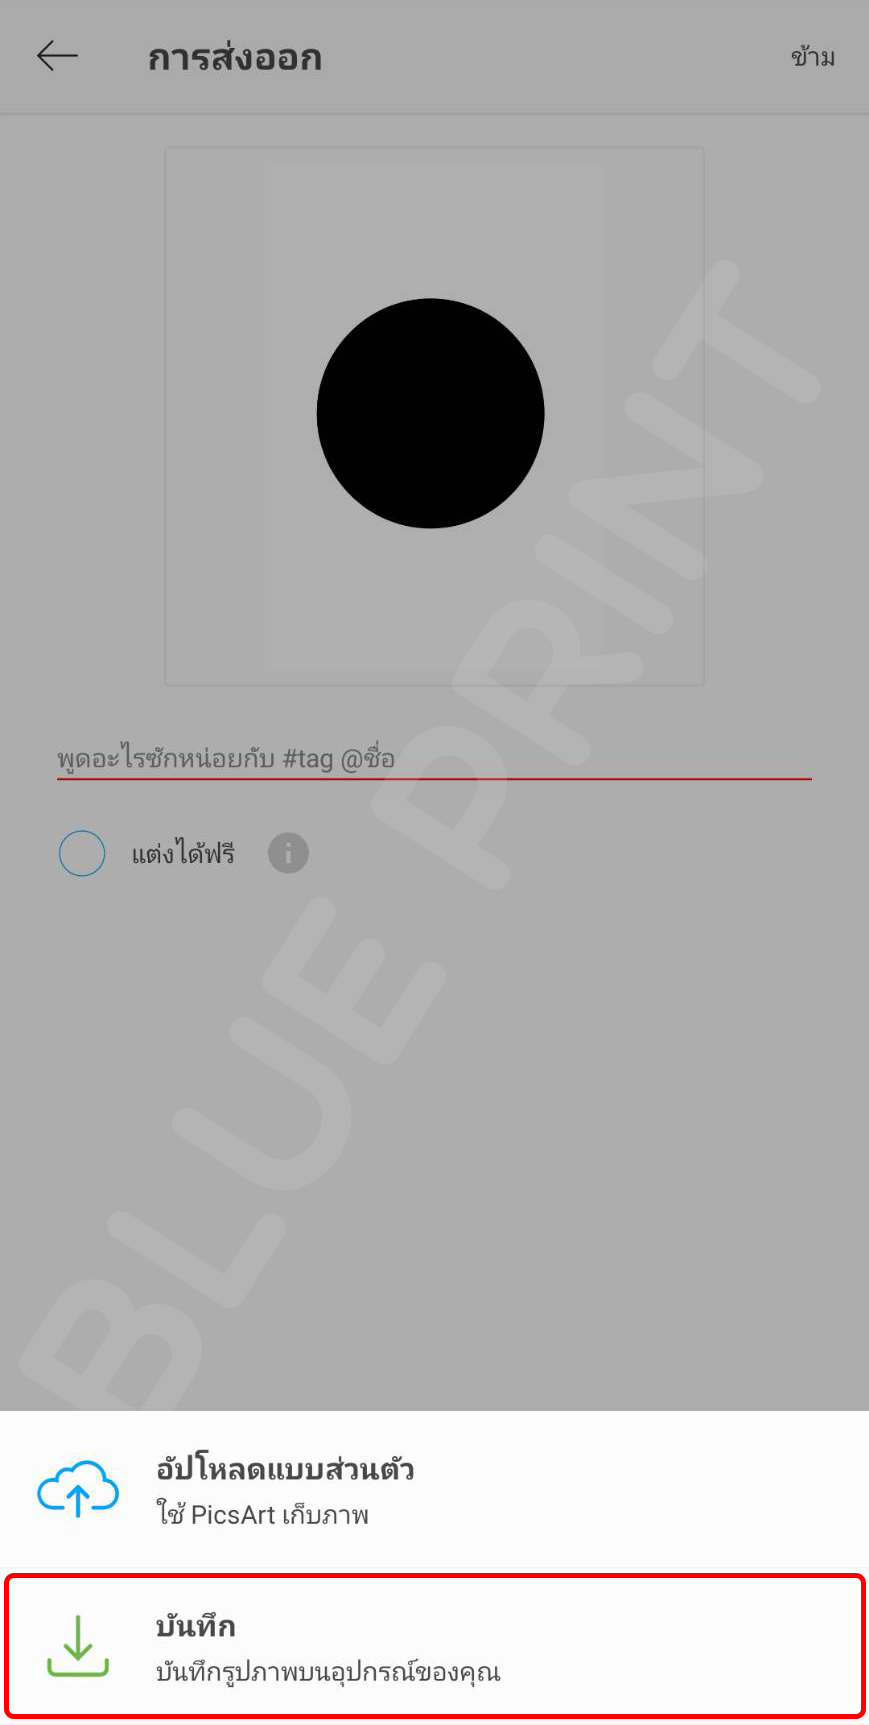
9. Tap “Save”

10. Tap “Save Save picture on your device”
OVER 
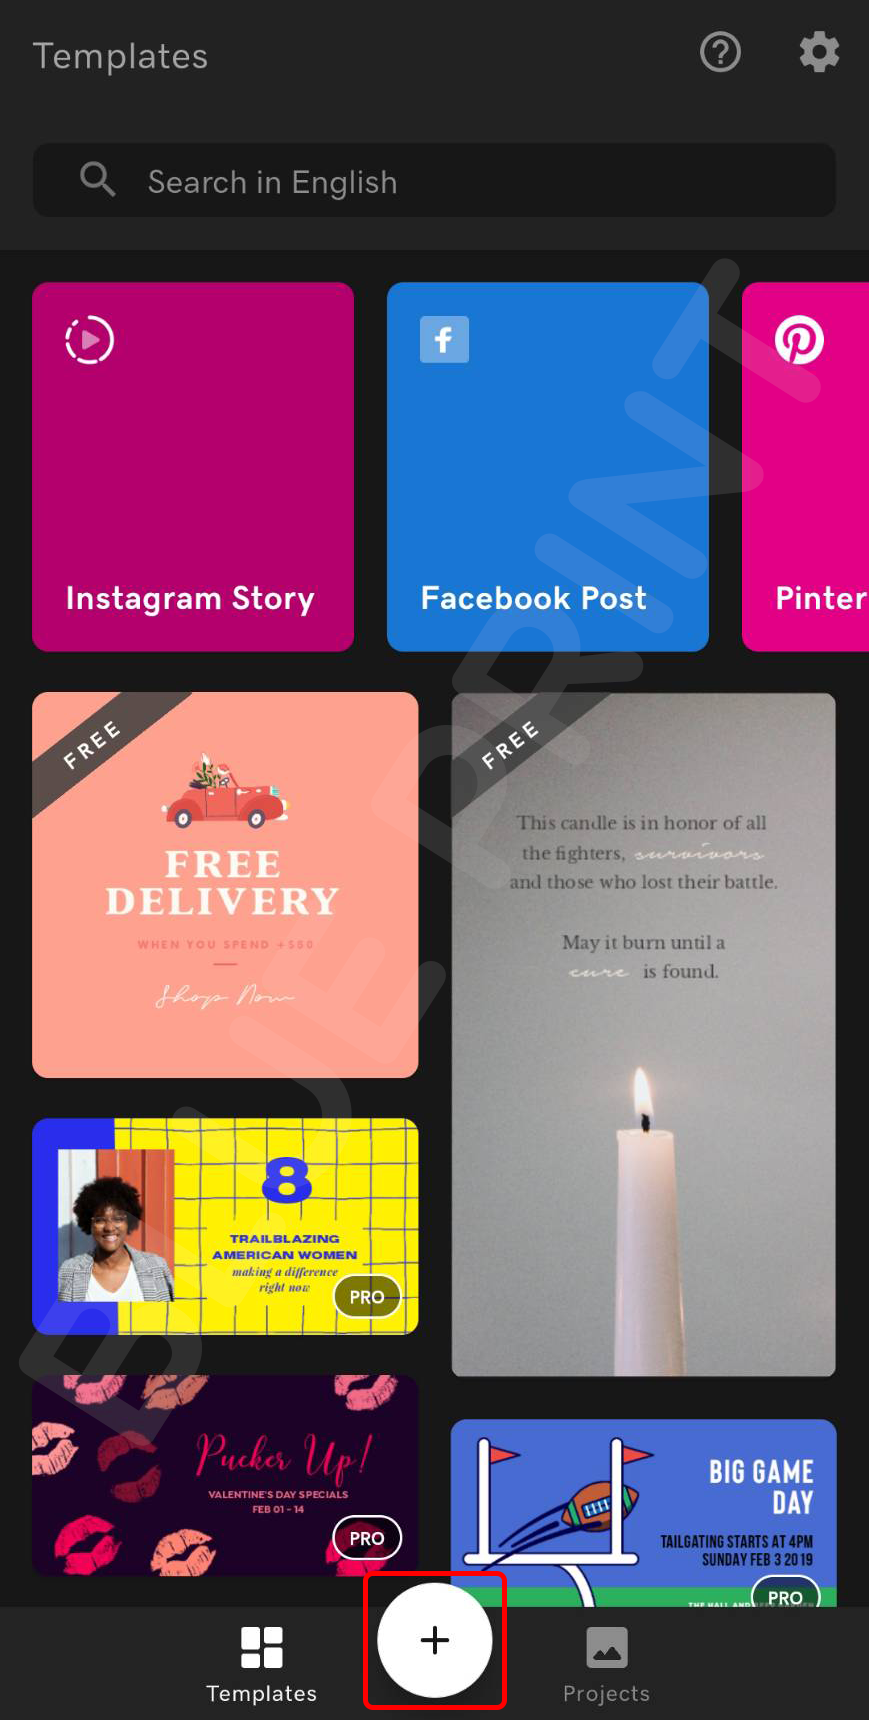
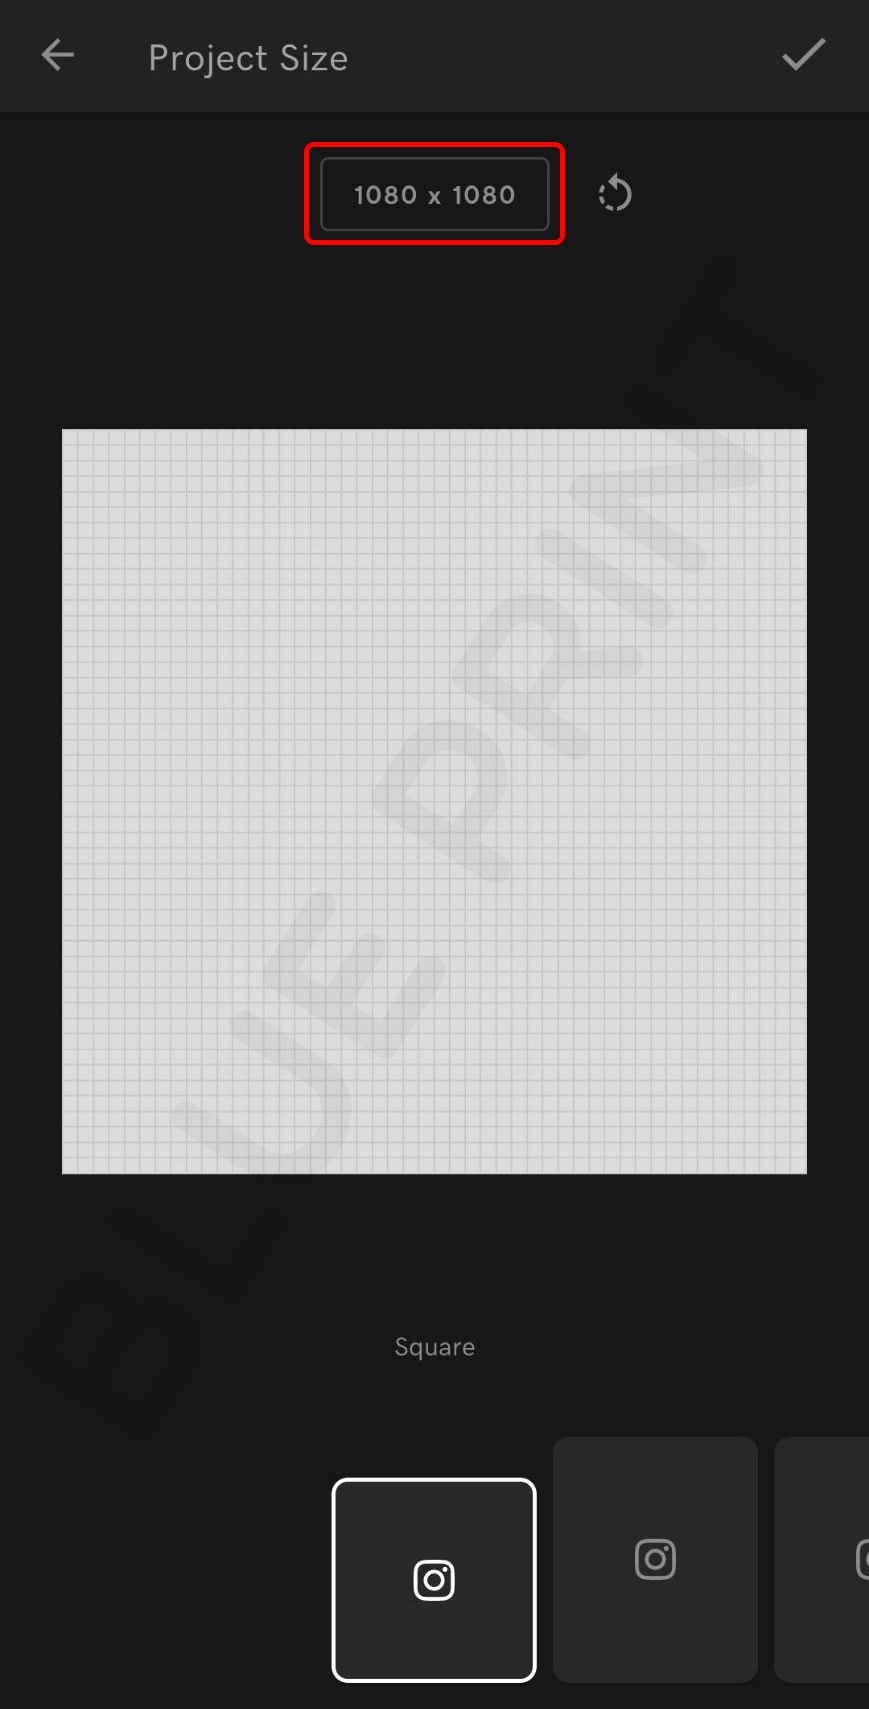
1. Open app Over, tap + at the bottom to begin your design.
2. Tab image size to adjust.
3. Adjust image size to acutal size (px). If you'd like to keep the scaling, tap “Constrain Proportions” to turn on, and tap arrow at the top right corner.
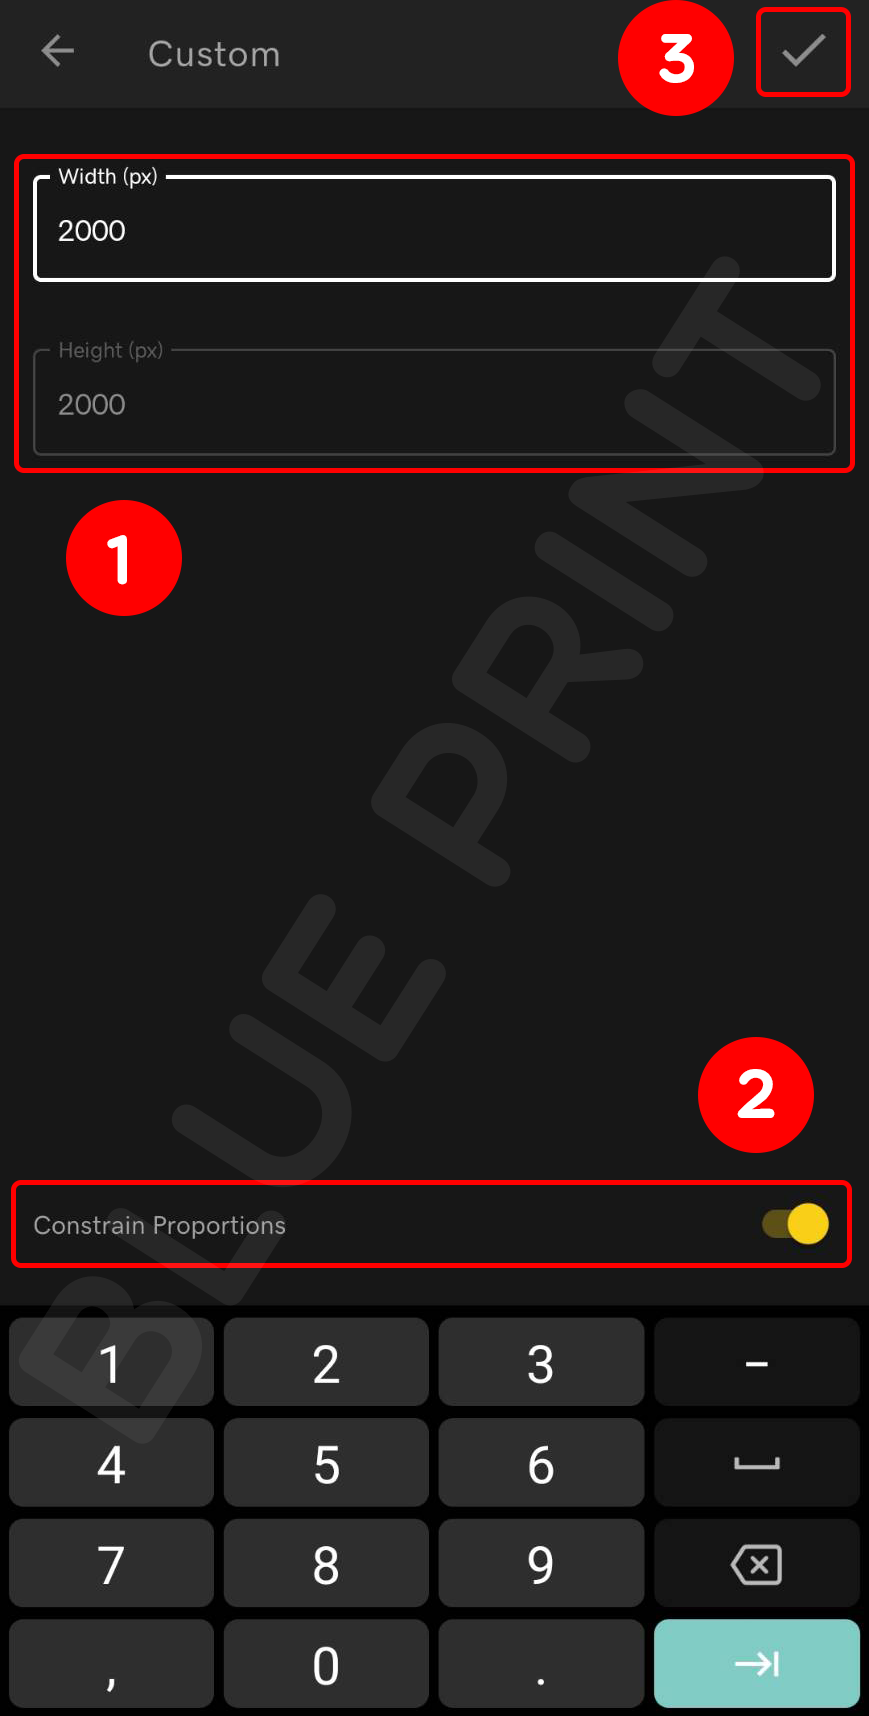
4. This is an example of not a constrain proportions

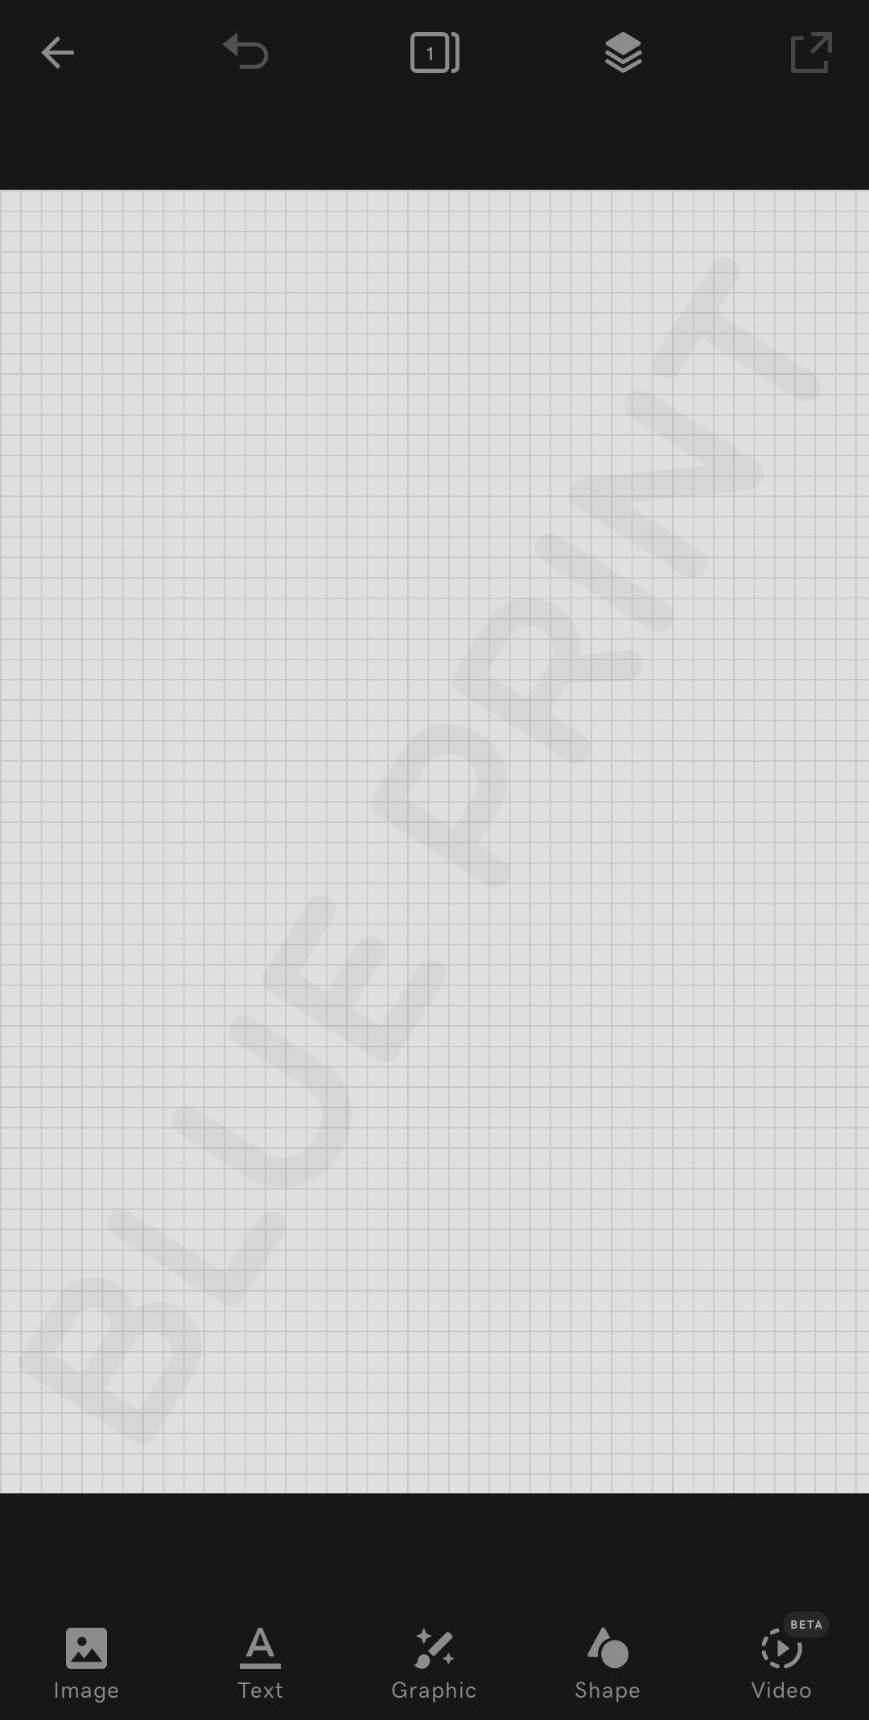
5. You can now begin with your design.
6. When you have finish designing, tap this symbol at the top right corner.

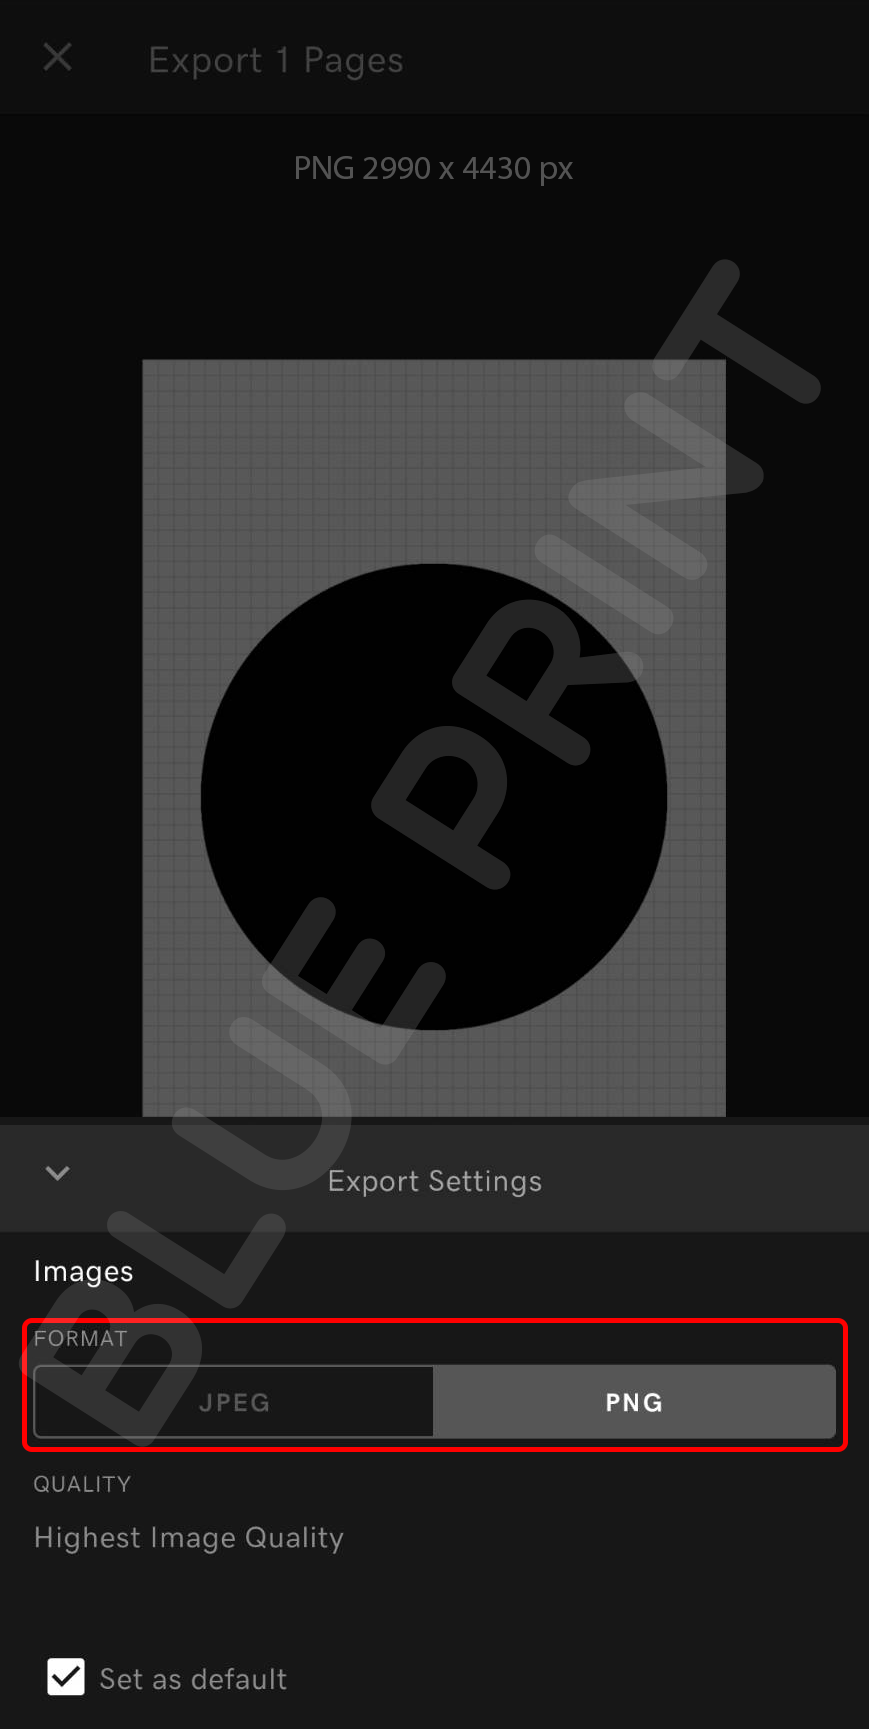
7. Tap “Export Settings”
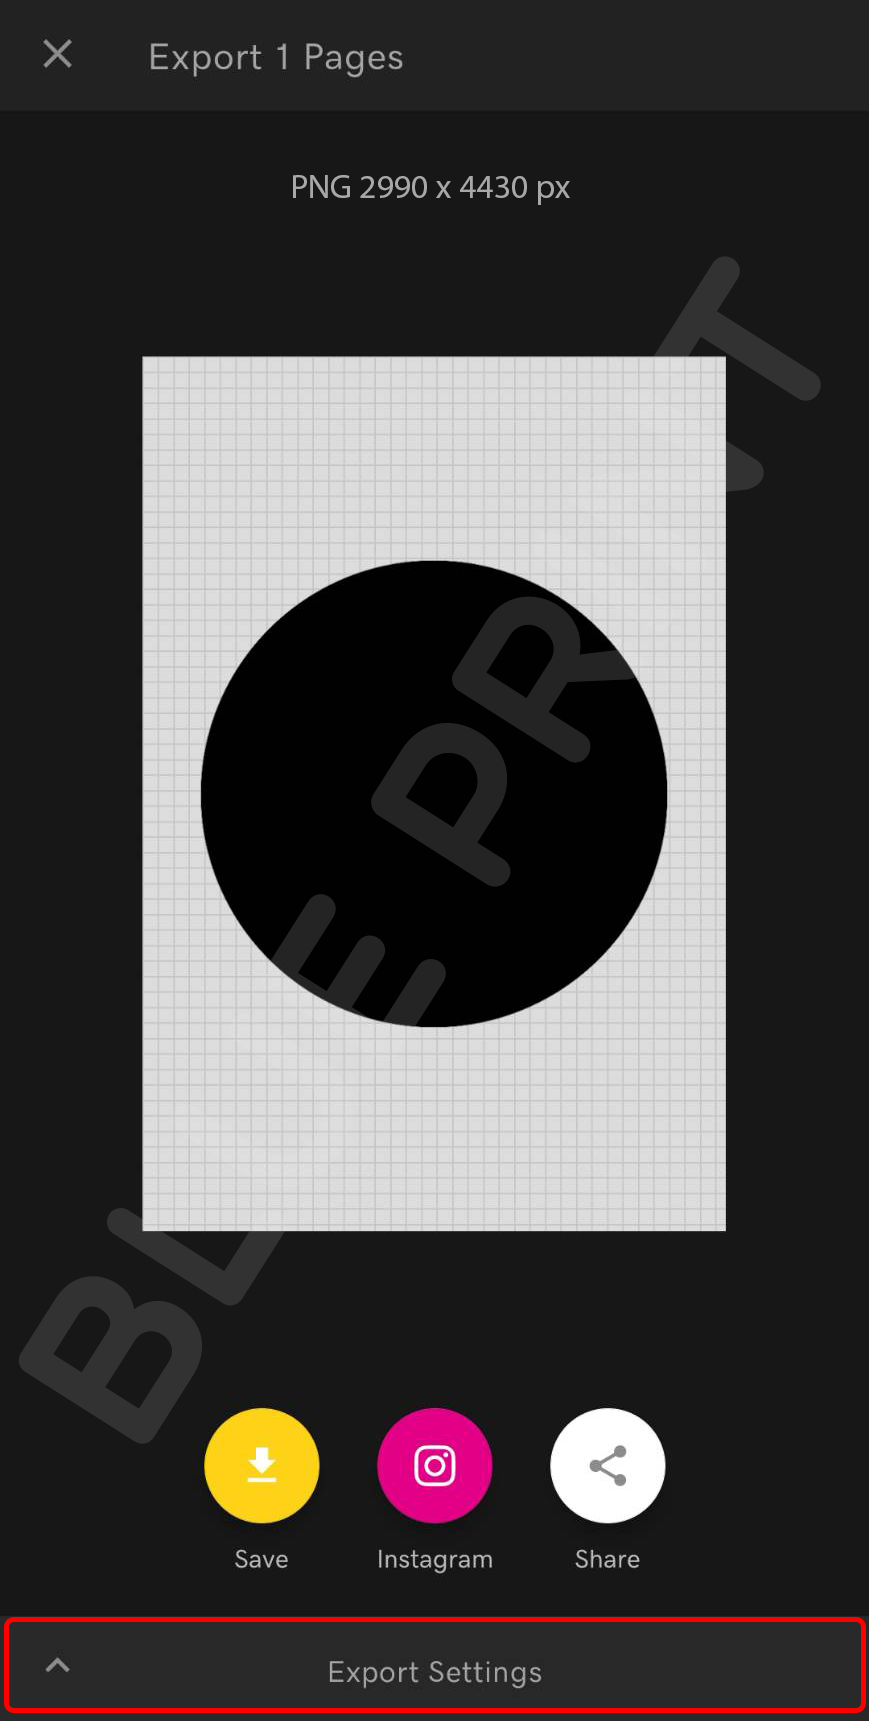
8. Choose file format.
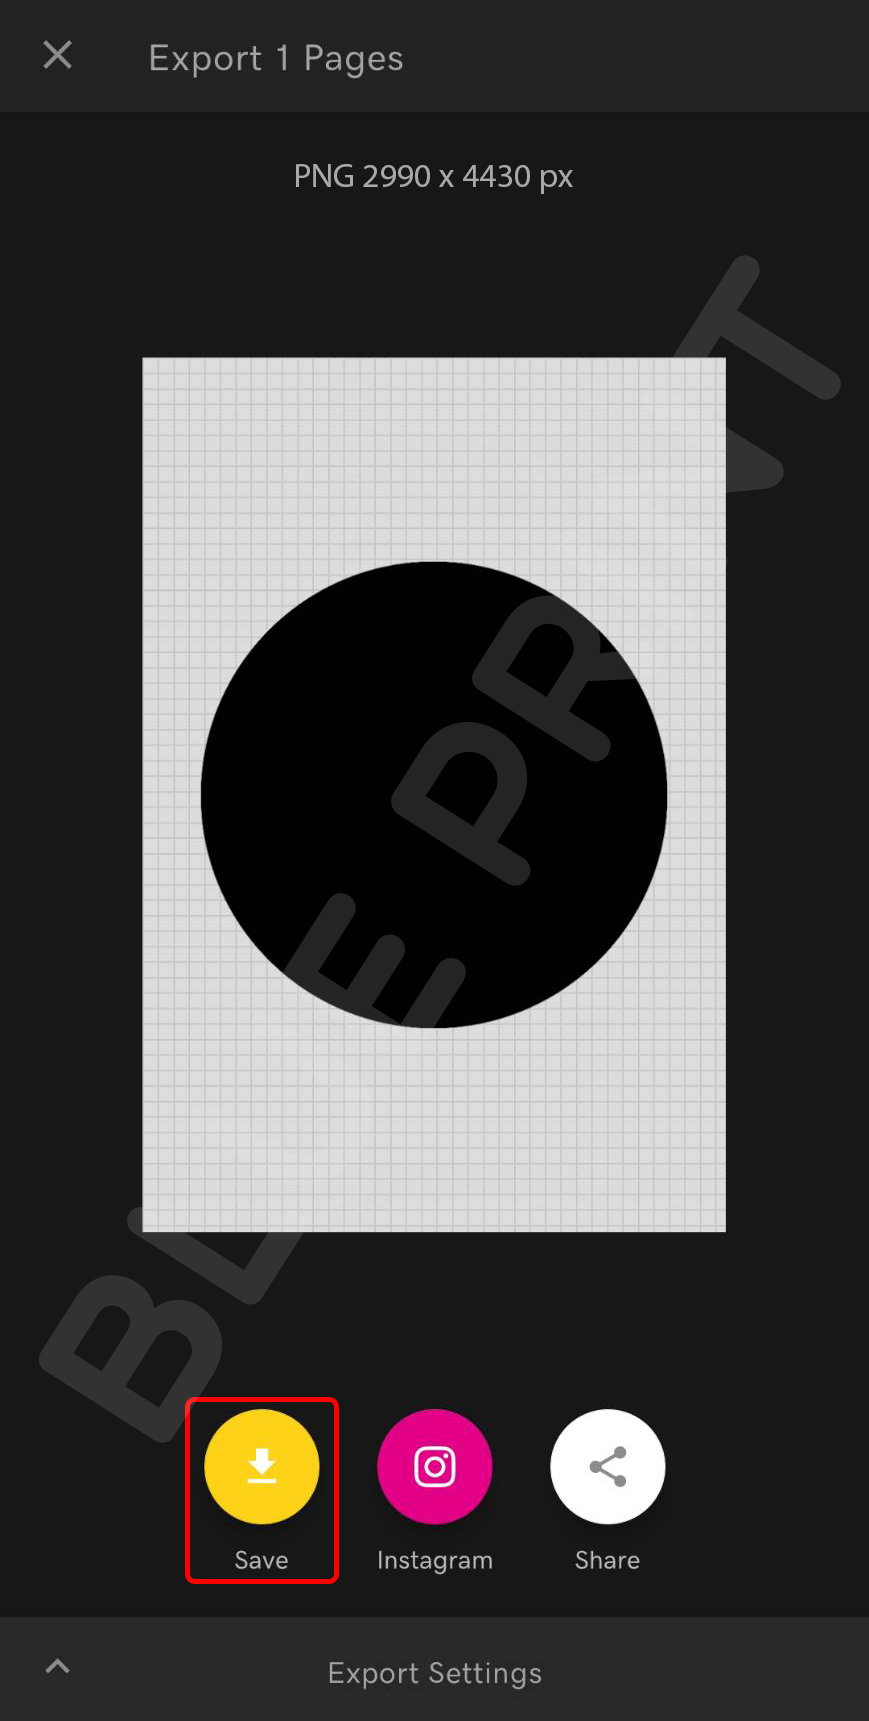
9. Tap Save
Canva 
1. Open app Canva, tap + at the bottom right corner.
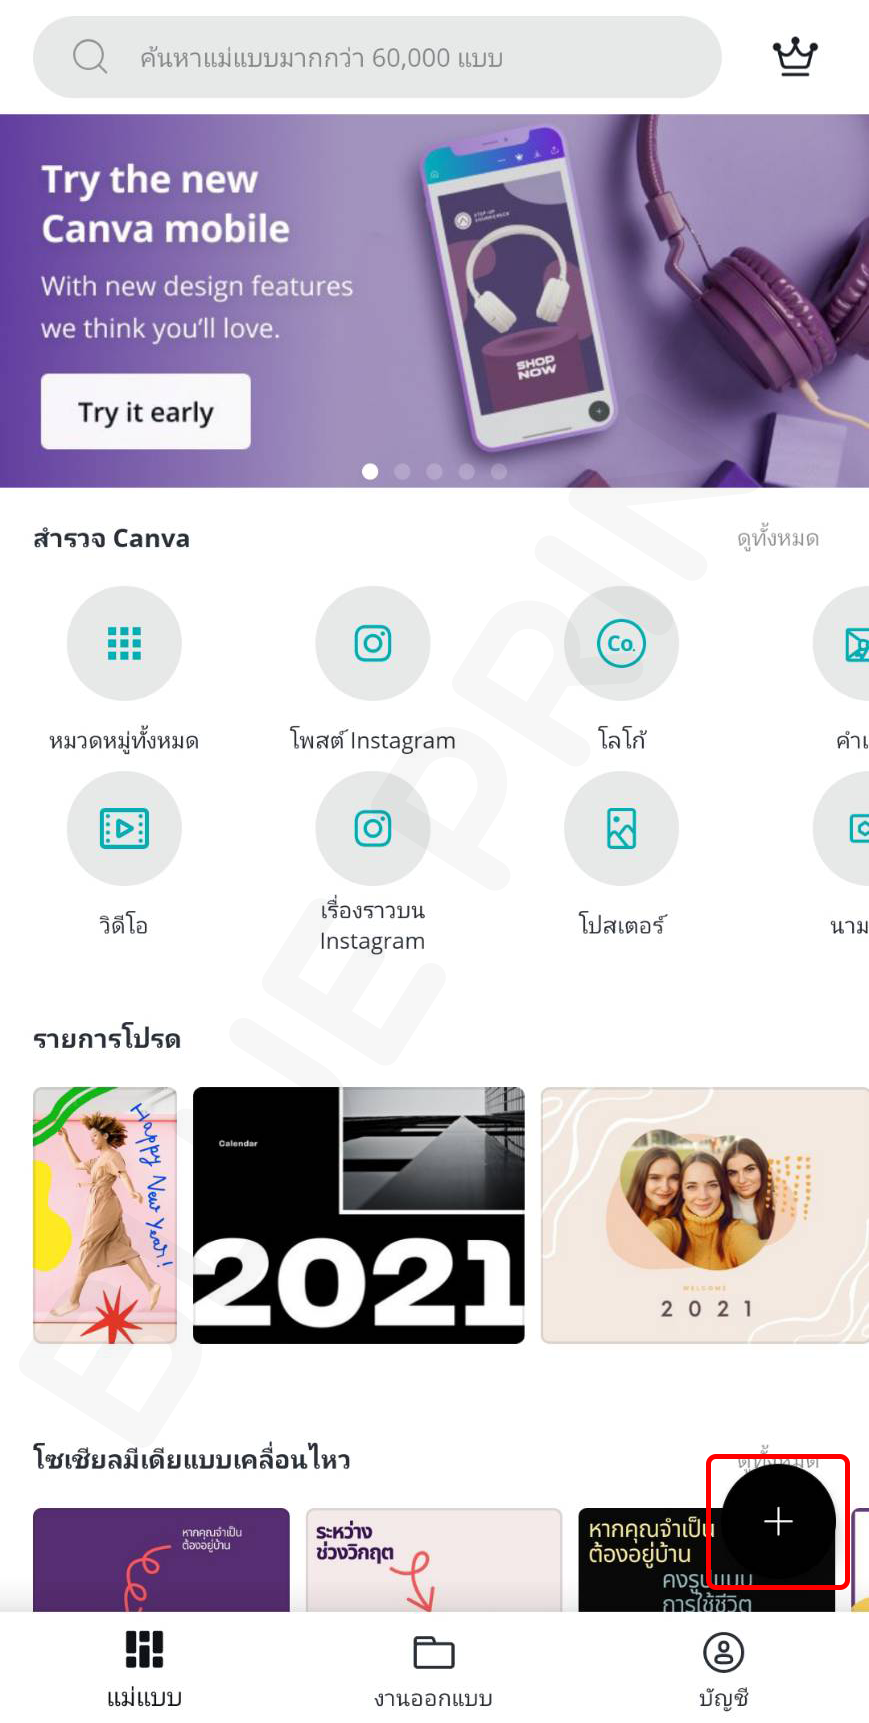
2. Tap artboard size to adjust.

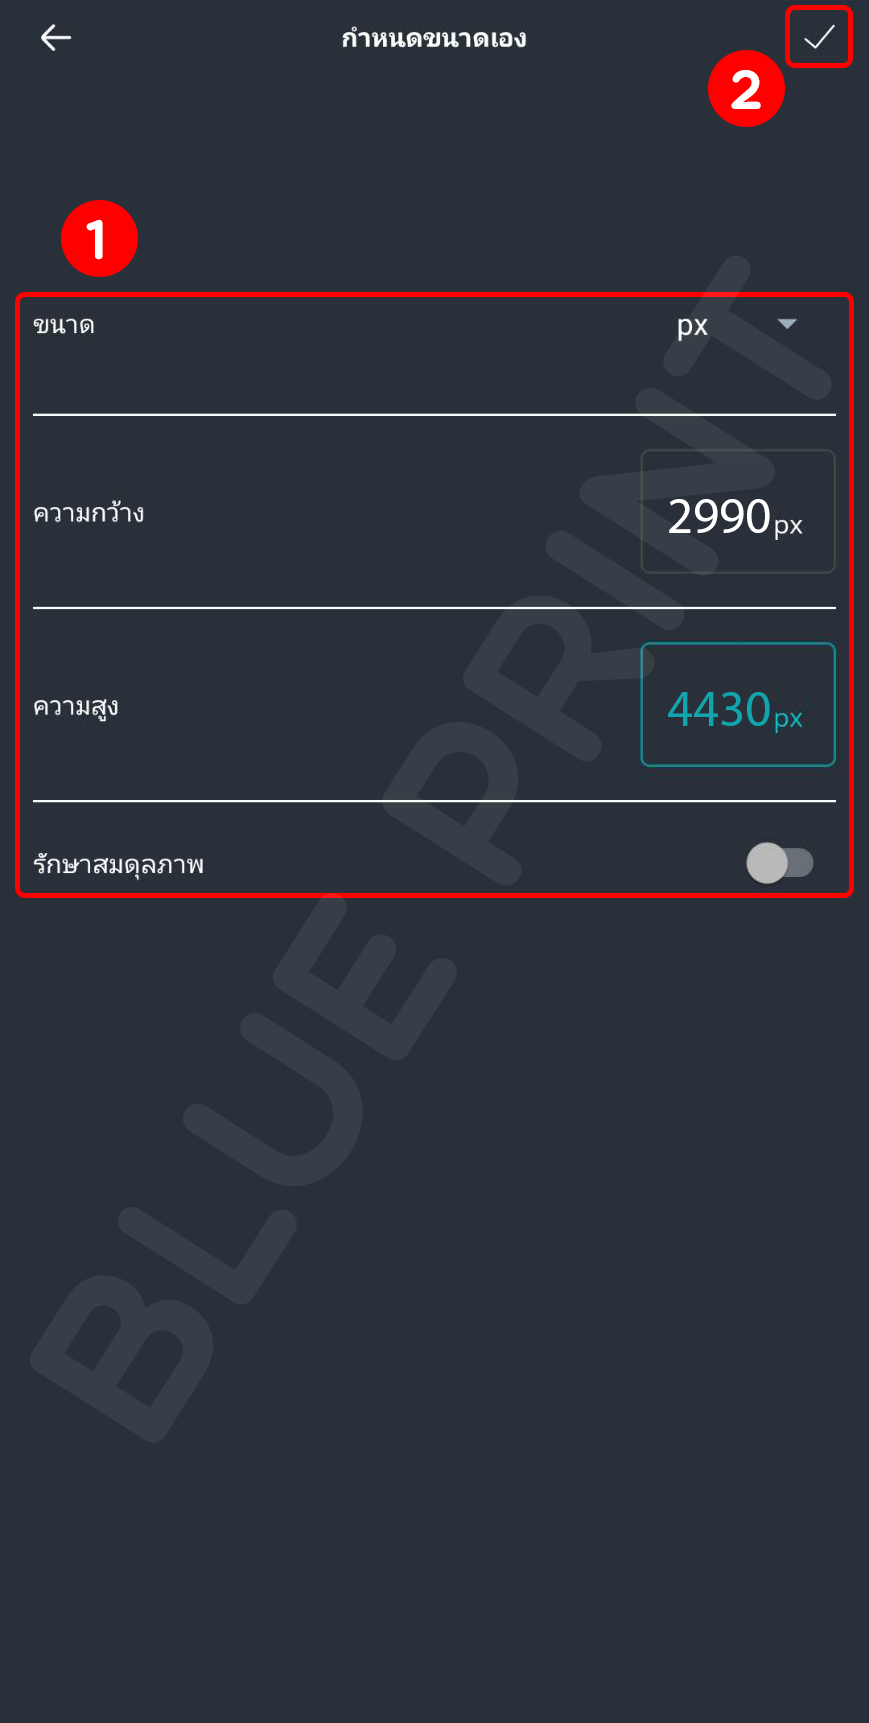
3. Set the artboard size to actual size (px), then tap this symbol at top right corner.
4. You can now begin your design.
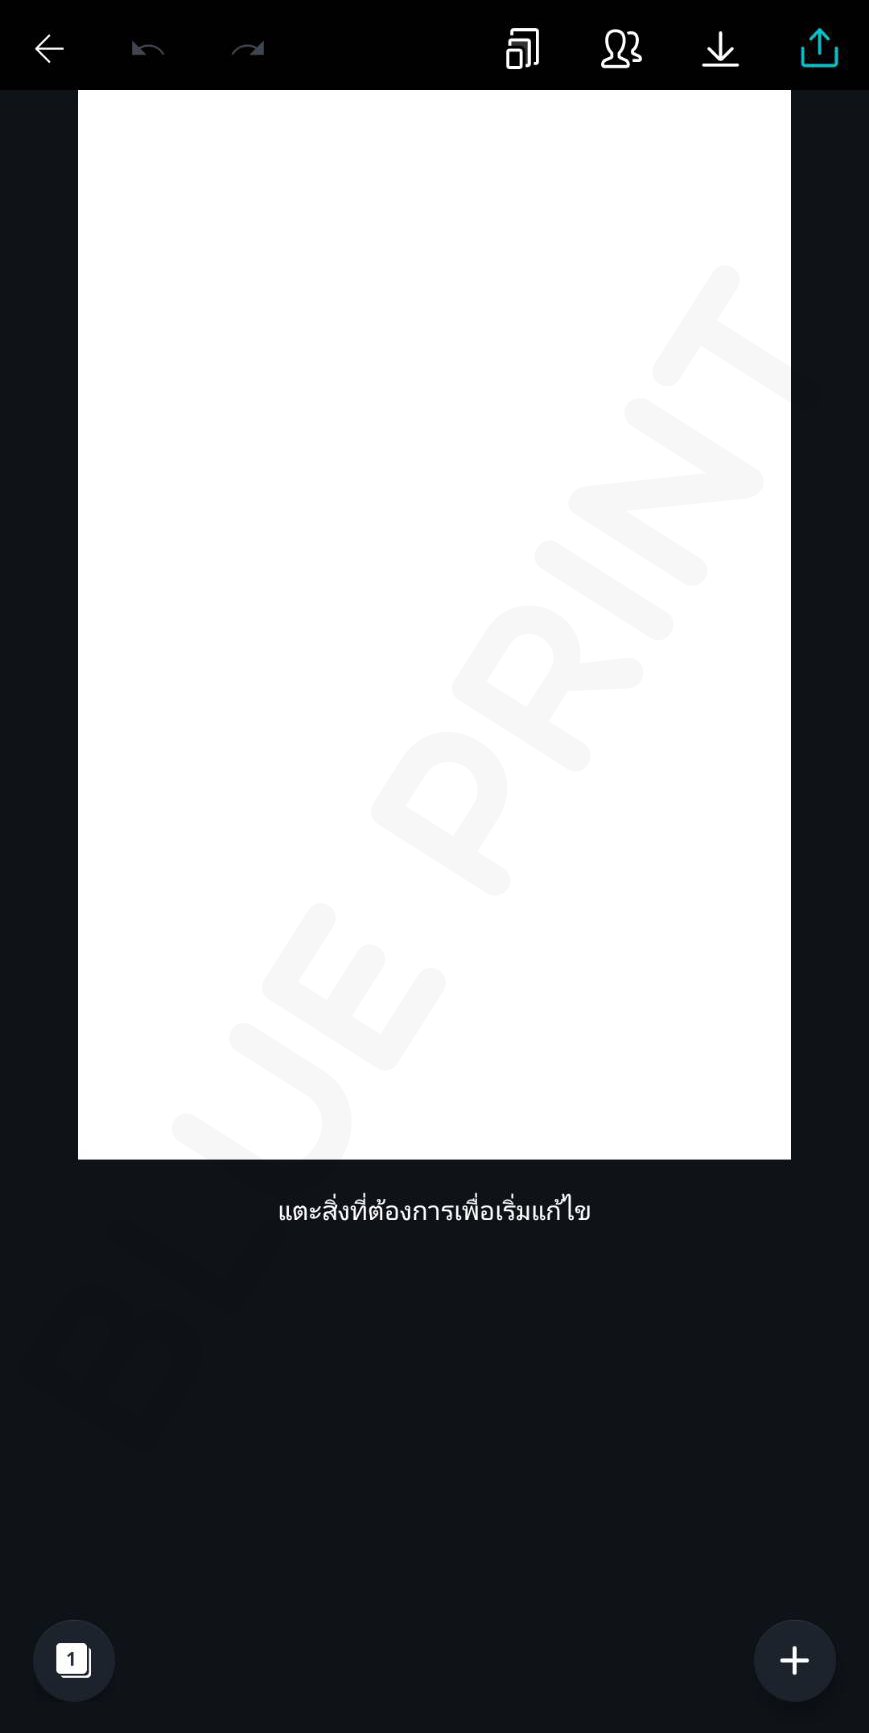
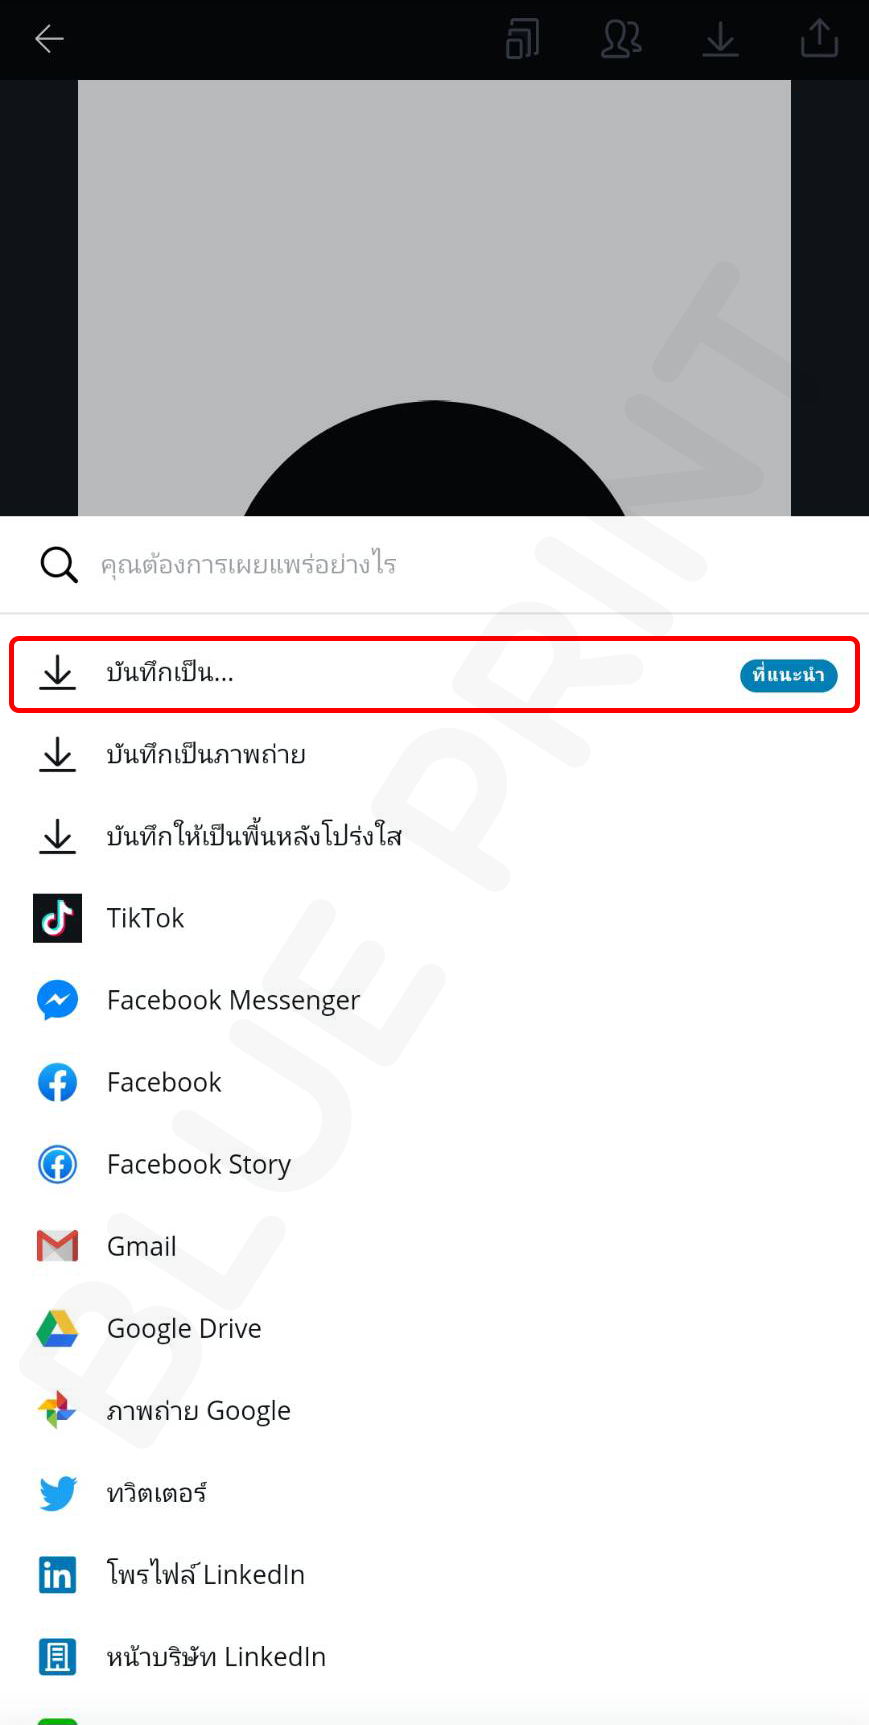
5. When design is done, tab this symbol at top right corner.

6. Tap “Save as”
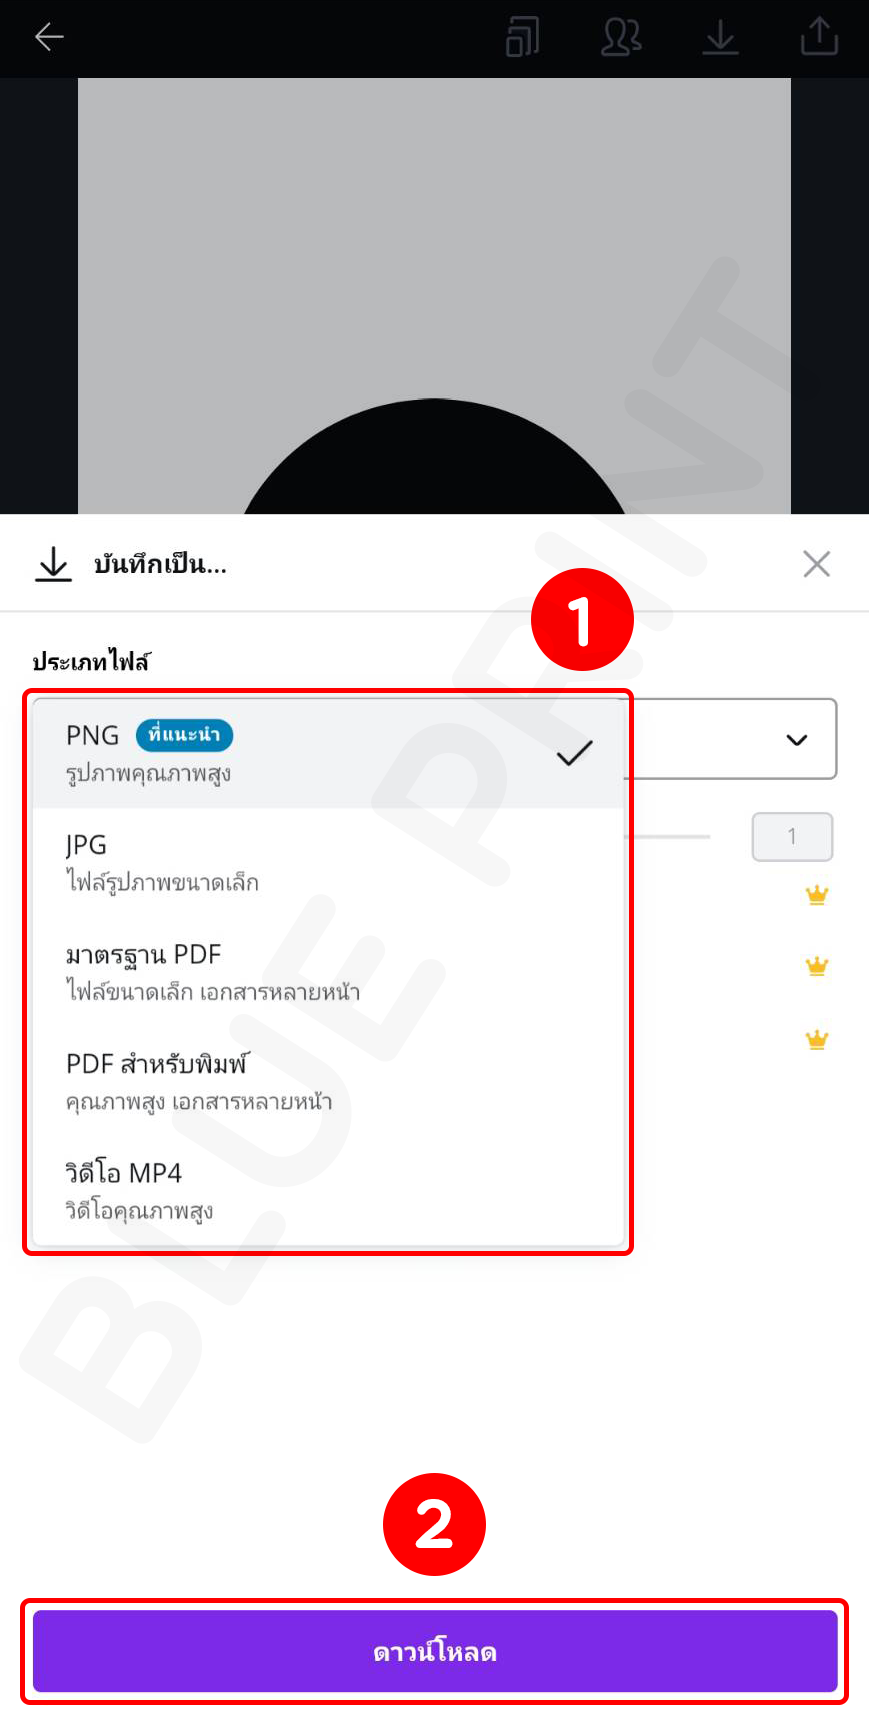
7. Tab to choose file format.

8. Choose a file format then tap "Download"
* Caution *
When you design your artwork from mobile apps, the bleed and safe area cannot be setup manually. Therefore you should be extra careful when designing. Do not let essential parts, such as logos, text etc. place too close to the border to prevent them from being cut off.